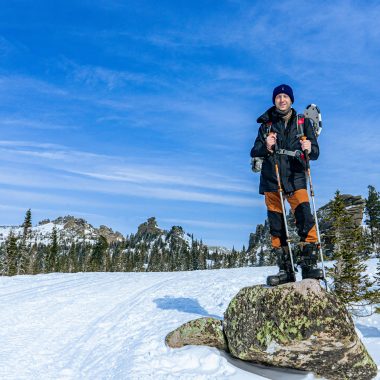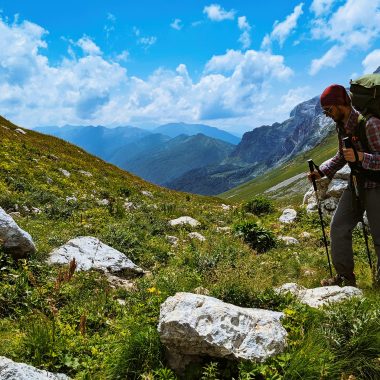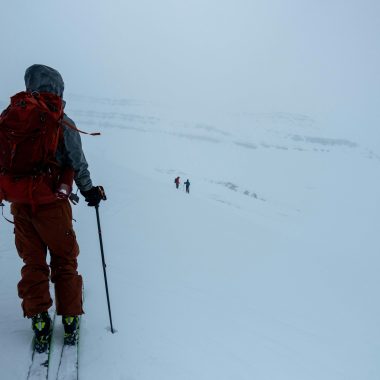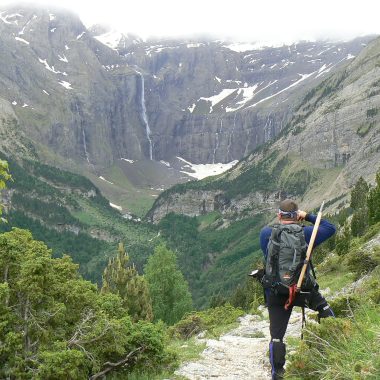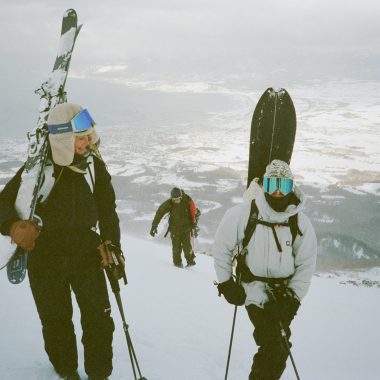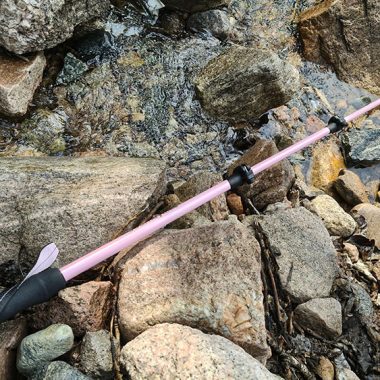
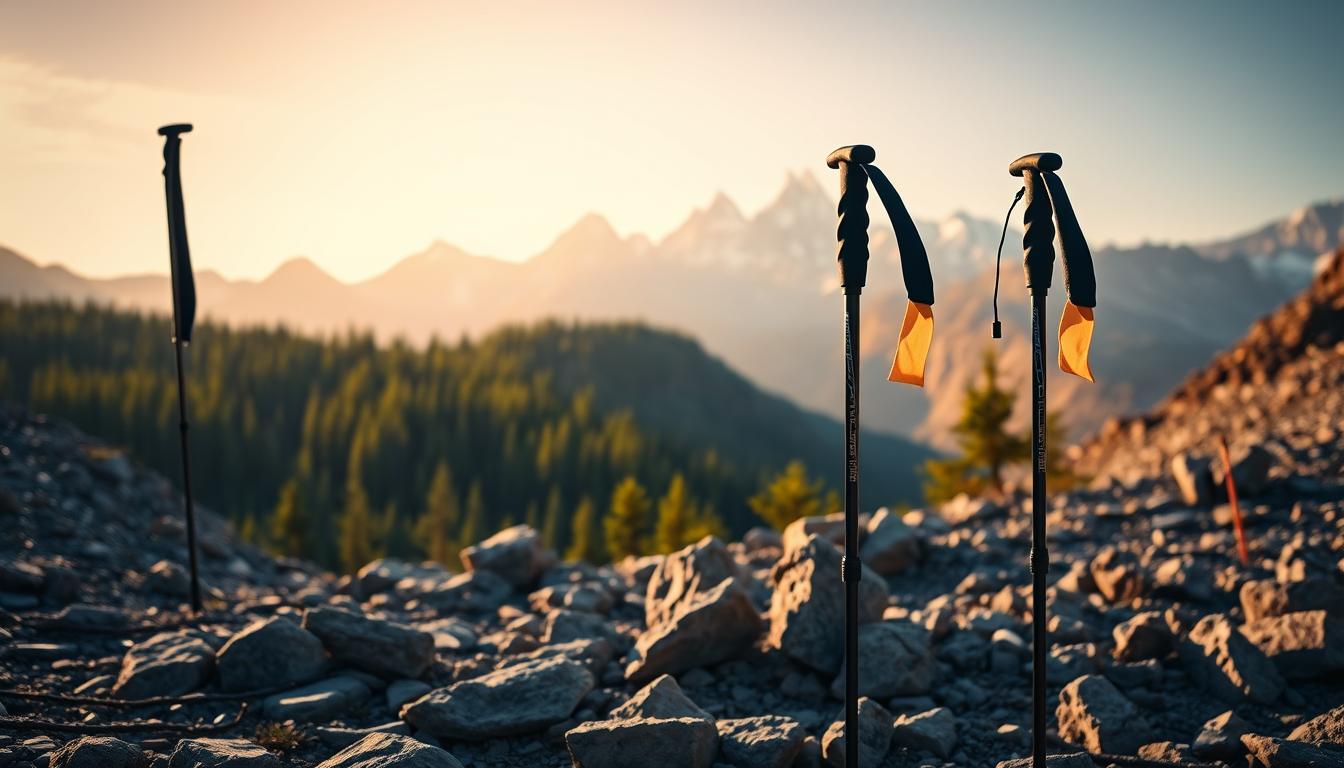
Choosing the right poles changes how you move on trail. Good sticks add stability with heavy packs, help on stream crossings, and give winter traction. Many hikers carry them ready to deploy for steep sections or slick descents.
Not every set reduces knee strain for every person. Some walkers prefer technique tweaks like fore- or mid-foot striking. Still, most retail models from REI and other outdoor specialists are sturdy and adjustable, unlike very cheap makes.
This short guide explains what to evaluate so you can match poles to your hiking style, terrain, and budget. Expect clear notes on materials, weight, locks, grips, tips, and when poles double as shelter supports. The goal: get real-world benefits—stability, rhythm, posture—without wasted features.
Key Takeaways
- Match shaft material and weight to how hard you use gear.
- Adjustability and reliable locks matter in cold or wet conditions.
- Grips, straps, and tips affect comfort more than flashy extras.
- Poles shine on heavy loads, crossings, and snowy terrain.
- Consider packed size and shelter-use when choosing length.
How to choose trekking poles for your next hike
Start by defining your hiking goals, then narrow features that support those aims.
Match intent to design: Weekend trail outings need different specs than multi-day backpacking. Think about stability with heavy packs, cadence on long miles, and how much packed size matters.
One vs. two: A single pole adds quick support on scrambles, while a pair gives balance, propulsion, and rhythm over rough trail.
Focus on weight and grip comfort; lighter options reduce fatigue, but durability matters if you lean hard on poles. Also pick locks that work with gloves—lever/flick locks tend to win for cold-weather use.
The benefits include reduced downhill impact (up to ~30% in some reports), improved posture, and faster daily distances. Adjustable poles double as tarp supports when pitching camp, so check max and min lengths.
| Feature | Why it matters | Good choice |
|---|---|---|
| Material | Weight vs. durability | Carbon for light, aluminum for toughness |
| Lock type | Ease with gloves and reliability | Flick/lever for cold, twist for fair-weather |
| Tip & basket | Traction on roots, rock, or snow | Carbide tips + season baskets |
- List the terrain you hike most to guide tip and basket choices.
- Try a few models in hand; feel often beats spec sheets.
What should I look for in a trekking pole?
Prioritize features that improve stability and comfort when packs get heavy or trails turn slick.
Begin with your toughest expected use. If heavy loads or winter travel are common, pick sturdy shafts and fast, reliable locks. For mild summer hiking, lighter designs cut fatigue.
Match style to terrain, pack weight, and season
Sturdy construction matters when carrying big loads or crossing snow. Lever locks work better than twist systems for quick, gloved adjustments.
Balance comfort, durability, and budget
Carbon saves ounces and feels lively but costs more and risks brittle failure under heavy impact. Aluminum costs less and often bends instead of breaking.
- Prioritize quick adjustability and secure locks for rocky steps and sidehills.
- Choose baskets and tips that fit winter or river conditions.
- Budget for ergonomic grips and durable straps you’ll use every mile.
- Opt for adjustable poles if you plan to pitch shelters or change lengths on steep terrain.
Final rule: let the hardest trail day guide your pick. That way your gear stays useful on tough miles and light when the route is easy.
Choose your pole style: telescoping, folding, or fixed
Your choice of pole type shapes packed size, on-trail performance, and shelter uses.
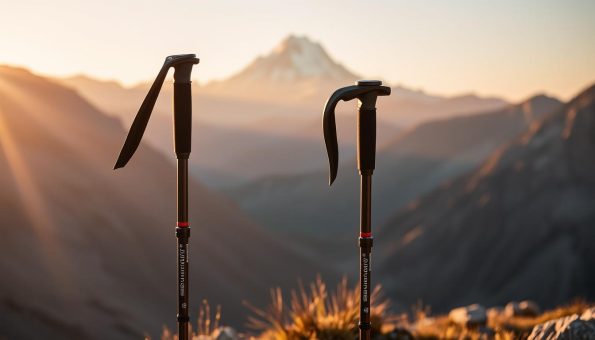
Telescoping poles (two- or three-section) are the all-round pick for most hikers. They balance durability and full adjustability so you can lengthen for descents or shorten for steep climbs. Lever locks tend to be more reliable than twist locks, especially with gloves or in wet conditions.
Folding poles: ultralight, travel-friendly
Folding poles collapse very short—often about 16 inches—so they win on packed size for travel and thru-hikes. They are favored by ultralight hikers and runners who stash poles between technical sections.
Expect limited length range and slightly less stiffness than telescoping designs. For heavy loads or aggressive bracing, folding models may fall short.
Fixed poles: minimalist and light
Fixed-length poles are the simplest and can be the lightest option. They cost less and weigh less, but they are hard to pack and lack versatility for changing grades or pitching shelters.
- Use as tent poles: If you plan to rig a tarp or trekking pole-supported tent, prefer telescoping or folding models with enough adjustment to hit exact heights.
- Mountain trail use: For rugged routes, choose telescoping poles with thicker shafts and lever locks for confident plants.
- Packed size vs. weight: Folding options minimize packed length; telescoping often balances packed size and stiffness.
| Style | Packed size | Strength / load | Best for |
|---|---|---|---|
| Telescoping (2- or 3-section) | Moderate (3-section packs smaller) | High with thicker shafts | Most hikers, shelter use, variable terrain |
| Folding | Very short (~16 in) | Moderate to low under heavy leverage | Travel, thru-hikes, ultralight trips |
| Fixed-length | Long when stowed | Lightweight, lower versatility | Weight-focused day trips, budget option |
Shaft materials: carbon vs. aluminum
How you use poles on trail should steer your material choice between lightness and toughness.
Carbon fiber shafts shave ounces and give a crisp, low-vibration feel. Many weight-focused hikers pick carbon for long miles; a carbon version can be about 12.7 oz per pair versus roughly 15.7 oz for an aluminum folding set. That saved weight adds up, but carbon can snap when overstressed.
Aluminum costs less and tolerates rough use. It often bends or dents rather than breaking, so you can sometimes field-straighten it and finish your day. Casual users and those who pound on rock prefer this option.
Quick comparison
- Choose carbon when every ounce matters and you accept a brittleness tradeoff.
- Choose aluminum for durability, lower price, and predictable failure modes.
- Remember tips, baskets, and locks add grams, so compare real model weights.
| Material | Pros | Cons |
|---|---|---|
| Carbon | Light, stiff, low vibration | Pricier, can snap under high stress |
| Aluminum | Durable, affordable, bends not breaks | Heavier, more vibration |
| Use case | Ultralight trekking and long miles | Rugged trails, winter, frequent bracing |
Weight and packed size: why ounces and inches matter
Small reductions in mass can add up to big gains on long miles and steep days. Even a few ounces change hand and forearm fatigue after thousands of pole plants.
Trail fatigue and efficiency: Lighter setups cut effort on sustained hiking. Fixed carbon pairs can weigh near 6.8 oz per pair, while sturdy telescoping aluminum sets may approach 19.5 oz per pair. That gap matters over multi-hour climbs and long descents.
Packed size for day hikes, travel, and stow-on-pack moments
Compact packed size helps when you stash gear for scrambles, ladders, or when you need poles only part of the route. Folding poles collapse to about 16 inches. Many three-section telescoping designs fold to roughly 24 inches.
- Balance weight vs. use: ultralight fixed carbon saves ounces but cuts adjustability and may lack durability compared to aluminum telescoping models.
- Stash frequency: If you deploy poles often, smaller packed size saves time and keeps straps tidy.
- Test the feel: weight alone isn’t everything — balance, grips, and locks affect how natural each pole plant feels.
| Type | Typical packed size | Typical pair weight |
|---|---|---|
| Fixed carbon | Long stowed | ~6.8 oz |
| Folding | ~16 in | Varies (moderate) |
| 3-section telescoping | ~24 in | Up to ~19.5 oz (aluminum) |
“Every ounce in your hands adds up; choose the mix that keeps poles useful all day and invisible when you don’t need them.”
Grips and straps: cork, foam, rubber, and comfort on hand
Grip choice shapes comfort and control on long miles and steep terrain.
Cork comfort and vibration damping
Cork resists moisture and gradually molds to your hand. It soaks up less sweat and cuts vibration on rocky ground.
Foam feel and quick comfort
Foam gives soft immediate comfort and reduces hot spots. Expect faster wear and some water absorption on wet days.
Rubber traction for cold, wet use
Rubber sheds water and works well with gloves in winter. It can feel sticky in heat and may chafe on sweaty palms.
Straps, extended grips, and technique
Wrist straps boost power transfer when used right. Slide your hand up through from below, then press the palm onto the strap to push without over-gripping the handle.
Extended foam lower grips let you choke up quickly on steep uphills or tight traverses. An ergonomic tilt near 15 degrees often eases wrist strain during long descents.
| Grip material | Pros | Cons |
|---|---|---|
| Cork | Moisture-resistant, molds to hand, vibration damping | Higher cost, cosmetic wear over time |
| Foam | Soft, lightweight, immediate comfort | Absorbs water, wears faster |
| Rubber | Water-shedding, winter-friendly, durable | Can chafe in heat, less breathable |
“A good handle is the difference between enjoying long miles and avoiding your poles.”
- Choose cork for three-season comfort and lower sweat transfer.
- Pick foam where soft feel is top priority and weight matters.
- Opt for rubber when colder, wetter trekking dominates your season list.
Locks and adjustability: flick locks vs. twist locks
How you lock your poles affects cold-weather use, field repairs, and fast terrain changes. Lever or flick systems give quick, glove-friendly action and hold well in sub-zero conditions.
Twist locks work fine for fair-weather trekking and keep gear simple. They can loosen with vibration or freeze if water gets in. Many models let you service threads to re-tension without special tools.
Winter handling and on-trail tuning
Choose lever/flick locks when you plan winter trips or often adjust lengths on steep descents. External clamps offer fast, repeatable changes so you actually use the feature.
- Quick action: Flick clamps operate easily with gloves and wet hands.
- Serviceable: Twist locks can be tightened in camp but may stick if overtightened.
- Durability: External levers usually keep clamp force better over years.
| Lock type | Pros | Cons | Best use |
|---|---|---|---|
| Flick/lever | Fast, glove-friendly, holds in cold | Adds small weight, protrudes slightly | Winter, long trekking, frequent tuning |
| Twist | Clean profile, light, simple | Can loosen or freeze, needs re-tension | Summer trail use, fair-weather trekking |
| External hybrid | Quick adjust, serviceable, secure | More hardware to inspect | Backcountry trips, shelter use |
“A crisp lever with no creep under load inspires confidence on exposed ridges.”
Whether your shafts are carbon or aluminum, confirm locks clamp without crushing the tube. Test hardware with gloves before you buy so in-wind adjustments stay simple and quick.
Tips, baskets, and winter-ready details
The right tip and basket combo turns a single pole set into a four-season tool. Swap bits quickly and your gear moves from spring mud to winter drifts without buying new sticks.
Carbide vs. rubber tips: traction, noise, and trail impact
Carbide tips bite into dirt, ice, and frozen ground for secure plants. They can be noisy on rock and may skid on slick stone, so test before trusting steep, off-camber steps.
Rubber caps give quiet, trail-friendly contact on pavement and hard surfaces. Use them for roadwalks and indoor transitions, then remove them before muddy or wet sections.
Trekking baskets and powder baskets: four-season versatility
Most trekking poles come stocked with small baskets that avoid brush snags and stop deep plunges in soft soil.
When snow arrives, swap those for larger powder baskets so your poles don’t posthole in unconsolidated drifts. Many models accept interchangeable baskets, making the change simple on the trail.
- Tip care: Cap carbide points for storage and carry spare caps or tips in your repair kit.
- Compatibility: Verify poles come with threaded fittings if you plan to buy extra baskets.
- Season swaps: Use powder baskets for winter, switch back to compact baskets in summer to avoid snagging.
- Inspect often: Worn carbide reduces bite and can cause slips on tricky rock.
| Component | Best use | Notes |
|---|---|---|
| Carbide tip | Dirt, ice, mixed trail | High bite, noisy on rock; cap for travel |
| Rubber cap | Pavement, slick rock, indoor | Quiet, protects surfaces; remove for wet ground |
| Compact trekking baskets | Summer trails, brushy routes | Low snag risk; many poles include these |
| Powder baskets | Snow, deep shoulder-season slush | Prevents postholing; swap in for winter use |
“A quick tip and basket swap keeps poles useful from shoulder-season mud to deep winter snow.”
Set the right height and size for comfort and control
Fine-tuning pole length on the trail keeps your rhythm and protects knees. Start with a neutral setup and learn how small changes change comfort and balance.
Neutral hiking: elbow at roughly 90 degrees
Plant a pole and stand relaxed. Your forearm should be near parallel to the ground.
This 90-degree rule is the baseline for steady, efficient trekking.
Steep ascents, descents, and sidehills: adjusting length on the fly
- Climbs: shorten poles a few centimeters to drive with your arms without shrugging.
- Descents: lengthen poles to brace and reduce impact on knees.
- Traverses: set the downhill pole longer and the uphill pole shorter to stay upright.
- Fine-tune strap length so you can weight the strap without gripping hard.
Trekking pole-supported shelters: why adjustable length matters
Shelter setups often list exact centimeters. Confirm your poles reach that height and allow a little extra for uneven ground.
“A few seconds of on-the-fly tuning pays back with better control and more confidence on tricky sections.”
| Situation | Action | Benefit |
|---|---|---|
| Neutral trail | Set to 90° elbow | Efficient stride and steady rhythm |
| Steep climb | Shorten by 2–5 cm | Better leverage, less shoulder strain |
| Steep descent | Lengthen by 5–10 cm | Reduced knee impact, improved balance |
| Sidehill traverse | Downhill longer, uphill shorter | Upright torso, stable footing |
Practice quick changes at home so using trekking poles mid-hike feels natural. Mark your favorite lengths with tape for fast, repeatable adjustments. Recheck heights when wearing gloves or bulky layers; seasonal gear alters ideal size.
When to use poles, when to skip them, and one pole vs. a pair
Deciding when to carry poles and when to tuck them away is part of smart trailcraft. Use simple rules so the gear helps more than it hinders. Pack attachment points mean you can stash sticks fast and only pull them when they add value.
Trail benefits
Poles help with heavy packs and tricky crossings. They provide extra contact points that cut slips and steady balance.
On rolling miles, a steady plant-and-swing builds rhythm and supports upright posture. That rhythm often reduces fatigue and keeps steps even.
Tradeoffs
Swinging hiking poles uses energy and changes your gait. Some hikers skip them to train balance and core strength on easier days.
Also consider weight and packed bulk. On ultra-long days, test whether the energy spent yields fewer stumbles and steadier pacing.
One pole vs. a pair
A single pole is handy for short summit pushes, quick scrambles, or when you need a free hand.
A pair provides better balance over long distances and rough terrain. Choose a pair for extended backpacking, creek crossings, and steep descents where repeated bracing matters.
“Having poles ready doesn’t obligate you to use them every mile—flexibility is the real advantage.”
- Stow poles on ladders or narrow ledges; deploy for mud, snow, or loose scree.
- Keep etiquette in mind on group hikes; avoid planting tips where others step.
Conclusion
Think of this choice as buying a multi-tool: one set of poles can cover day trips, winter travel, and shelter use if matched well.
Match materials to mission — carbon trims overall weight while aluminum adds toughness. Pick grips that fit your hand: cork for sweat resistance, foam for soft feel, or rubber for winter traction.
Adjustability matters. Telescoping poles and folding poles offer different packed size and size ranges that help when you also use poles as tent poles or shelter supports.
Final rule: pick serviceable gear with replaceable tips and interchangeable baskets. That keeps your knees protected, your rhythm steady, and your poles ready for any trail day.
FAQ
What key features help pick the right trekking poles?
Look at shaft material, locking system, grip type, packed size, and weight. Carbon shafts save ounces and improve efficiency but can snap under heavy stress. Aluminum bends but stays usable and costs less. Choose flick locks for easy on-trail adjustments and twist locks if you prefer a simpler shaft. Cork or foam grips boost comfort; rubber grips work better in cold or wet conditions.
How do I decide between telescoping, folding, or fixed styles?
Match the style to your needs. Telescoping poles offer broad adjustability for varied terrain and long hikes. Folding poles pack very small for travel and thru-hiking where packed size matters. Fixed shafts are ultralight and simple but lack versatility for steep ascents or shelter use.
Why does weight and packed size matter on the trail?
Lighter poles reduce fatigue and improve rhythm on long miles; every ounce counts on multi-day trips. Packed size matters when stowing on a pack or in luggage—shorter folded lengths are better for travel and quick stow-on-pack moments.
Which grip material is right for me: cork, foam, or rubber?
Cork molds to your hand and handles sweat well, cutting hand fatigue. Foam feels soft and comfy but soaks up moisture and wears faster. Rubber stays warm and sheds water, making it a top pick for winter or wet-weather use. Consider wrist straps or extended grips for power transfer and quick “choke-up” control.
Flick locks or twist locks — which hold up better?
Flick locks open and close quickly and work well in cold or gloved conditions. They generally offer reliable on-trail tuning. Twist locks can be simpler and lighter but may slip under heavy load or when dirty. Test both with gloves on before buying.
How do tips and baskets affect traction and trail impact?
Carbide tips bite hard surfaces and ice but make more noise and can damage delicate trails. Rubber tips reduce noise and protect trail tread but lose traction on rock or ice. Use trekking baskets for mud and general hiking; swap to powder baskets for snow travel and winter hikes.
What height should poles be set to for comfort and control?
Set length so your elbow forms roughly a 90-degree angle during neutral hiking. Shorten poles for steep climbs and lengthen them on descents or sidehills. Adjustable poles shine here, letting you fine-tune for terrain, pack weight, or when building a shelter.
When are poles most helpful, and when might I skip them?
Poles boost stability with a heavy pack, aid stream crossings, improve rhythm, and reduce knee stress. They add weight and can change how you balance, so skip them for short, light hikes where simplicity matters, or when you want balance training without aids.
Is one pole ever enough, or should I carry a pair?
A pair provides the greatest stability and rhythm benefits, especially with heavy loads or rough terrain. A single pole can help balance on quick river crossings or when you need one hand free, but it sacrifices the full support and posture benefits a matched pair delivers.
Can trekking poles double as tent or shelter supports?
Yes—adjustable poles, especially telescoping models, often serve as shelter or tarp supports. Make sure poles lock securely and have the needed length and strength. Folding poles can also work but check packed size and assembly stability first.