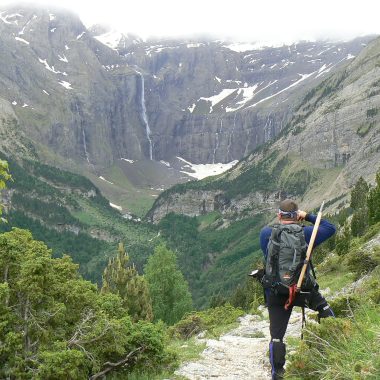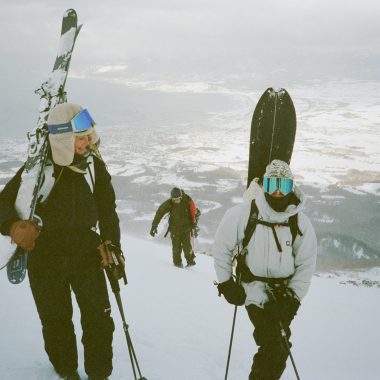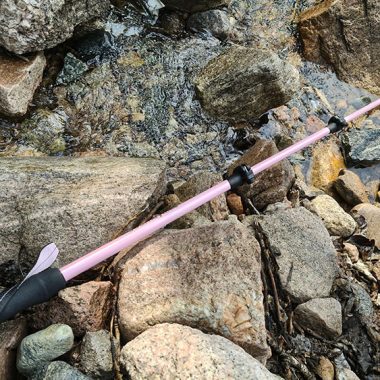
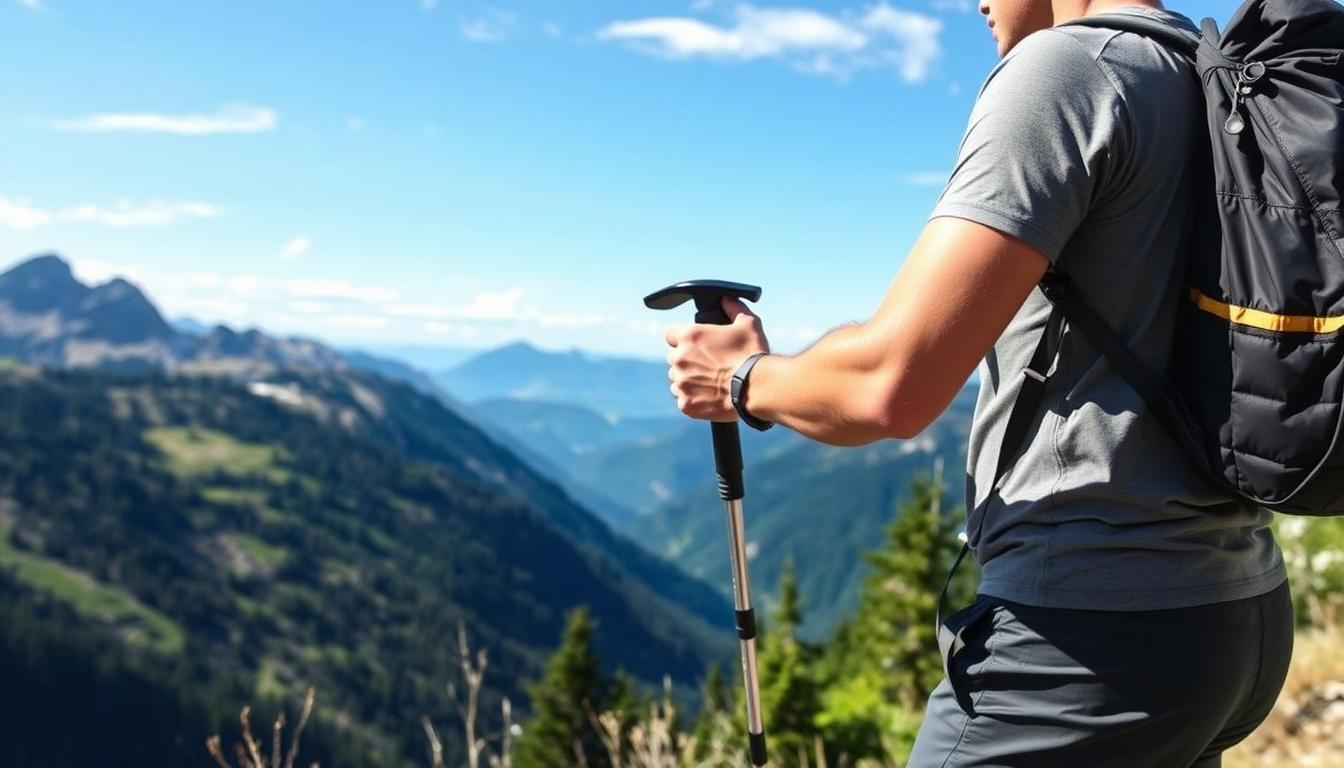
This comprehensive guide will walk you through everything you need to know about using hiking poles correctly – from basic adjustments to advanced techniques for challenging terrain. Whether you’re a beginner looking to start using poles or an experienced hiker wanting to refine your technique, you’ll find valuable information to help you hike longer, safer, and more comfortably.

Why Proper Hiking Pole Technique Matters
Before diving into the specifics, let’s understand why proper technique is so important. Using hiking poles correctly can reduce the impact on your knees by up to 25% when going downhill. This is particularly beneficial for hikers with joint issues or those carrying heavy backpacks.
Proper pole technique also improves your balance on uneven terrain, helps maintain a steady rhythm during long hikes, and engages your upper body to distribute effort more evenly. Incorrect pole usage, however, can lead to wasted energy, reduced stability, and even increase your risk of injury.
Studies show that using hiking poles correctly can reduce the compressive force on your knees by up to 25% when descending and can significantly improve stability when crossing streams or traversing slippery surfaces.

Selecting the Right Poles for Your Needs
Before learning technique, ensure you have the right equipment. Hiking poles come in two main types: fixed-length and adjustable. For most hikers, adjustable poles offer the versatility needed for various terrains. Look for poles with comfortable grips, durable construction, and appropriate weight for your strength and hiking style.
The material of your poles affects their weight, durability, and price. Aluminum poles are more affordable and durable, while carbon fiber poles are lighter but more expensive. For beginners, aluminum poles provide a good balance of cost and performance.
Not Sure Which Hiking Poles Are Right For You?
Our comprehensive hiking pole comparison guide helps you find the perfect poles for your hiking style, terrain preferences, and budget.

Adjusting Your Hiking Poles Correctly
Proper pole length is crucial for effective hiking. On flat terrain, your elbow should form a 90-degree angle when holding the pole with its tip on the ground next to your foot. This is your baseline adjustment that you’ll modify for different terrain.
Adjusting for Different Terrain
- Flat terrain: Maintain the 90-degree elbow angle
- Uphill: Shorten poles by 5-10 cm to accommodate the slope
- Downhill: Lengthen poles by 5-10 cm for better support and braking
- Traversing slopes: Shorten the uphill pole and lengthen the downhill pole
DON’T: Lock your poles too tightly or too loosely. Too tight can damage the locking mechanism, while too loose can cause the poles to collapse unexpectedly during use. Aim for finger-tight only.

Mastering the Correct Grip and Wrist Strap Technique
Many hikers miss out on the full benefits of trekking poles by using incorrect grip and strap techniques. The proper method reduces hand fatigue and maximizes stability.
Proper Wrist Strap Usage
- Insert your hand up through the bottom of the strap
- Pull down on the strap to position it across the back of your hand
- Rest your hand on top of the strap
- Lightly grip the pole handle between your thumb and forefinger
This technique allows you to transfer weight through the straps rather than gripping tightly, reducing hand fatigue on long hikes. The strap should be snug but not tight, allowing blood circulation while securing the pole.
DON’T: Grip the poles too tightly. A death grip wastes energy and causes hand fatigue. The wrist straps should bear most of the weight, allowing for a relaxed grip.
Correct Movement Patterns When Using Hiking Poles
The rhythm and pattern of your pole placement significantly impact your hiking efficiency. The most natural and effective technique follows your body’s opposite-arm-to-leg movement pattern.
Basic Walking Technique
- Move your left pole forward as your right foot steps forward
- Move your right pole forward as your left foot steps forward
- Maintain a natural arm swing, avoiding exaggerated movements
- Plant the pole at an angle, slightly behind the leading foot
- Apply gentle pressure on the pole as you move past it
This opposite-arm-to-leg pattern maintains your balance and provides the most efficient support. It may feel awkward at first, but will become natural with practice.
Pro Tip: To find your natural rhythm, try walking without poles first, noticing how your arms naturally swing opposite to your legs. Then add poles and match this same pattern.

Navigating Different Terrain
Uphill Technique
- Shorten poles by 5-10 cm
- Plant poles slightly ahead of you
- Push down on the poles to help propel yourself upward
- Maintain the opposite arm-leg pattern
- Take smaller steps for steeper terrain
Downhill Technique
- Lengthen poles by 5-10 cm
- Plant poles firmly ahead of you
- Use poles to brake and control descent
- Keep your knees slightly bent
- Take shorter steps and move deliberately
DON’T: Lean heavily on your poles, especially on downhill sections. They’re designed to provide stability and reduce impact, not to bear your full body weight. Excessive leaning can lead to pole failure or falls.

Special Techniques for Challenging Terrain
Beyond basic walking, certain situations require specialized pole techniques to navigate safely and efficiently.
Stream Crossings
- Adjust poles to a length that allows them to reach the streambed
- Test the depth and stability of the streambed before committing weight
- Use both poles together for maximum stability when needed
- Move one pole and one foot at a time for the most stable crossing
Rocky Terrain
- Use poles to test stability of rocks before stepping
- Plant poles in cracks or stable spots between rocks
- Consider collapsing and stowing poles if scrambling requires both hands
- Use the double-pole technique (planting both poles simultaneously) for extra stability

Master Advanced Hiking Pole Techniques
Get our illustrated field guide with detailed instructions for 15 specialized terrain techniques, including snow travel, scree slopes, and technical ascents.
Understanding Pole Tips and Baskets
Different terrain conditions require different pole accessories for optimal performance. Most hiking poles come with interchangeable tips and baskets that you can swap based on your hiking environment.
Pole Tips
Carbide Tips
- Best for dirt trails, ice, and rocky terrain
- Provides excellent grip on natural surfaces
- More durable than rubber tips
- Can damage sensitive surfaces
Rubber Tips
- Best for paved surfaces and sensitive terrain
- Reduces noise and impact on hard surfaces
- Protects fragile environments
- Wears down faster than carbide tips
Pole Baskets
- Small trekking baskets: Standard for most hiking conditions, prevents poles from sinking in soft soil
- Mud baskets: Medium-sized baskets for muddy or soft terrain
- Snow baskets: Large baskets that prevent poles from sinking in snow
- Powder baskets: Extra-large baskets for deep, powdery snow conditions

Maintaining Your Hiking Poles
Proper maintenance extends the life of your hiking poles and ensures they perform reliably when you need them most. Regular care is simple and takes just a few minutes after each hike.
After Each Hike
- Wipe down poles with a damp cloth to remove dirt and salt
- Fully extend adjustable poles and allow to dry completely
- Check locking mechanisms for debris and clean if necessary
- Inspect tips for wear and replace if needed
Seasonal Maintenance
- Disassemble poles if possible and clean thoroughly
- Apply silicone spray to the shaft sections (not the locking mechanisms)
- Replace worn straps, baskets, or tips
- Store fully extended in a dry place

Frequently Asked Questions About Hiking Poles
Are hiking poles necessary?
Hiking poles aren’t strictly necessary, but they provide significant benefits that make them worthwhile for many hikers. They reduce impact on your knees (especially when descending), improve balance on uneven terrain, help maintain a steady rhythm, and can reduce fatigue on long hikes.
Consider using poles if you: hike on steep or uneven terrain, carry a heavy backpack, have knee or joint issues, are concerned about balance, or engage in long-distance hiking. Even if you don’t use them all the time, having poles available for challenging sections can greatly enhance your hiking experience.
Can I use one pole instead of two?
Yes, using a single pole is an option and can provide some benefits, though not as many as using a pair. A single pole can offer additional stability, help with balance, and provide some relief to your knees. This approach is sometimes preferred by ultralight hikers or those who want to keep one hand free for other activities like photography.
However, using two poles provides more balanced support, engages both sides of your upper body evenly, and offers maximum stability and impact reduction. For most hikers, especially on challenging terrain or for those with joint concerns, a pair of poles is recommended for optimal benefits.
How do I use hiking poles with a backpack?
When hiking with both poles and a backpack, make these adjustments to your technique:
- Ensure your backpack is properly fitted and balanced
- You may need to widen your arm swing slightly to accommodate the pack
- Consider lengthening your poles by 2-5 cm if wearing a heavy pack
- Use your poles more actively on ascents to help distribute the pack weight
- When taking breaks, your poles can help stabilize you as you remove your pack
Most backpacks have attachment points for storing poles when not in use. Familiarize yourself with these features before your hike.
Start Using Your Hiking Poles Correctly Today
Learning to use hiking poles correctly takes practice, but the benefits are well worth the effort. Proper technique reduces strain on your joints, improves stability, and enhances your overall hiking experience. Start by focusing on the basics: correct pole length, proper grip and strap usage, and natural movement patterns.
Remember that different terrain requires different techniques, so be willing to adjust your approach as conditions change. With regular practice, using hiking poles will become second nature, allowing you to hike farther, safer, and with less fatigue.
Take Your Hiking to the Next Level
Download our comprehensive hiking pole technique guide with printable checklists, terrain-specific instructions, and maintenance tips to reference on your next adventure.