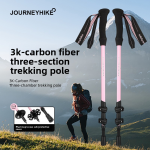
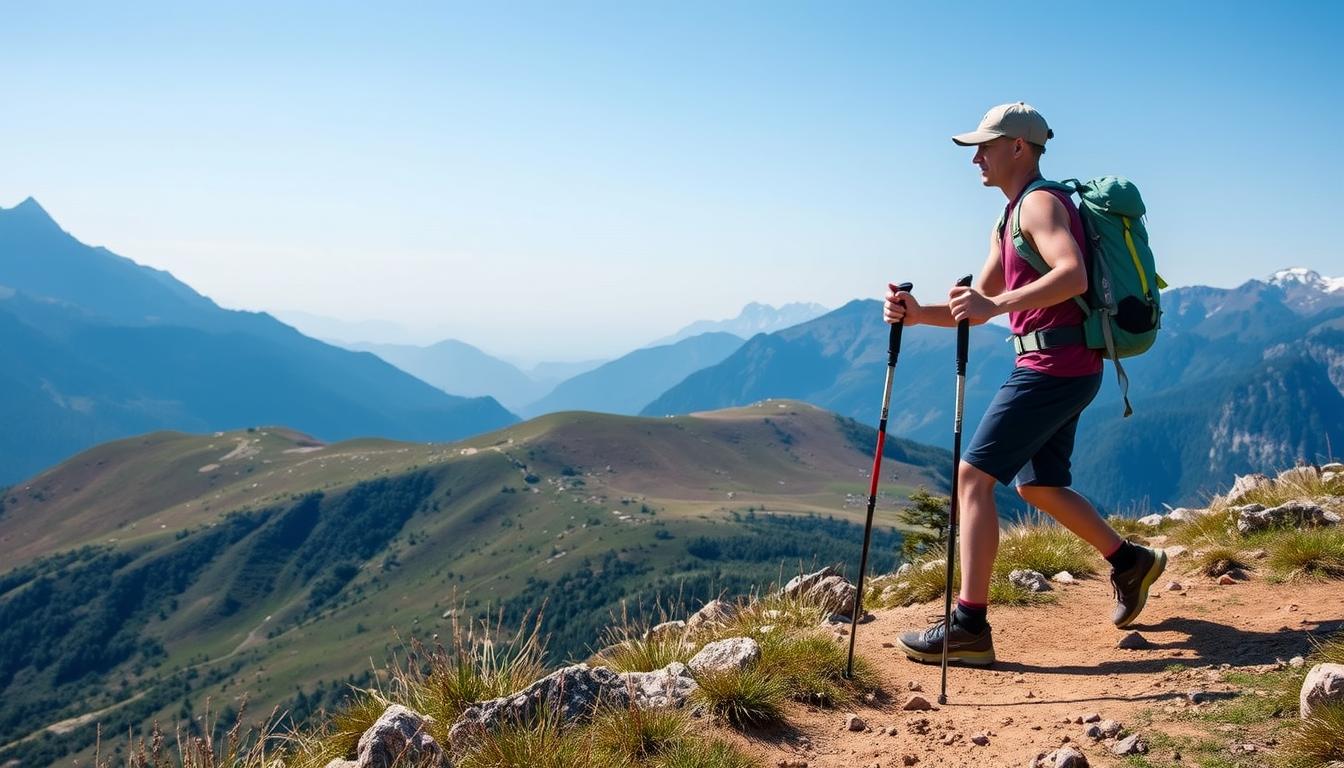
Trekking poles have become essential gear for many hikers, and for good reason. These versatile tools reduce strain on your knees and joints, improve balance on challenging terrain, and can even make your hiking more efficient. But to reap these benefits, you need to know how to use them correctly. This comprehensive guide will walk you through everything from basic setup to advanced techniques, ensuring you get the most out of your trekking poles on your next adventure.
Benefits of Using Trekking Poles
Before diving into techniques, let’s understand why trekking poles are worth your consideration:
Physical Benefits
Practical Benefits
- Provide stability when crossing streams or slippery surfaces
- Help maintain a consistent hiking rhythm
- Can be used to test depth of mud, snow, or water
- Serve as supports for ultralight tents or tarps
- Can help clear spider webs or brush from the trail
Choosing the Right Trekking Poles
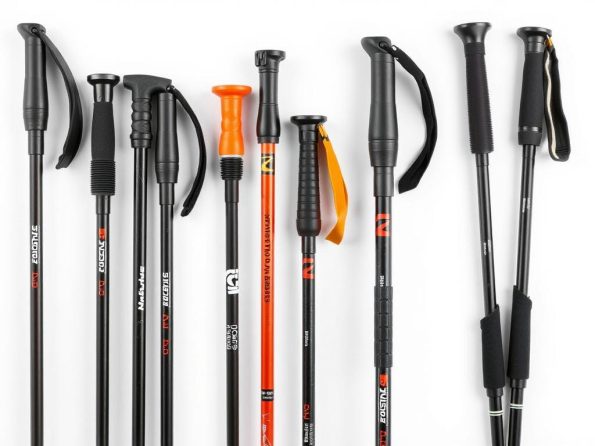
Before learning how to use trekking poles, it’s important to ensure you have the right ones for your needs:
Pole Types
- Telescoping poles: Adjustable length, good for varied terrain
- Folding poles: Compact for storage, fixed length sections
- Fixed-length poles: Lightweight but not adjustable
Materials
- Aluminum: Durable and affordable
- Carbon fiber: Lightweight but more expensive
- Composite: Balance of weight and durability
Not Sure Which Poles Are Right For You?
Download our free trekking pole comparison guide to find the perfect match for your hiking style and terrain preferences.
Adjusting Your Trekking Poles
Proper adjustment is crucial for effective trekking pole use. The correct length varies depending on the terrain you’re traversing:
Basic Length Adjustment
For Flat Terrain
- Stand upright on level ground with your arms at your sides
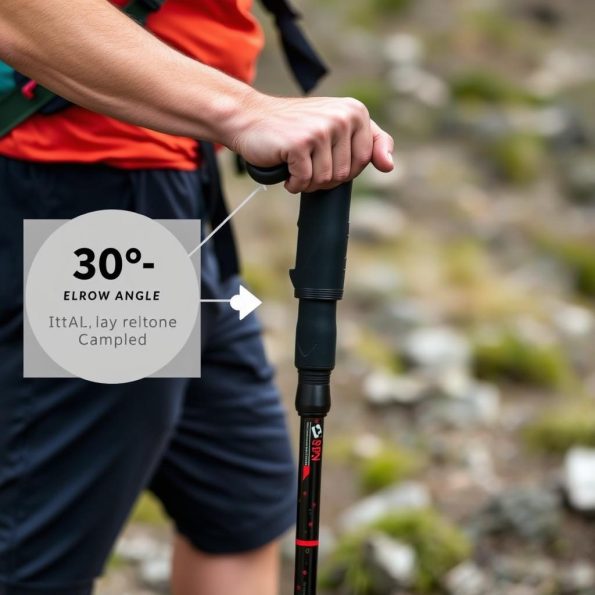
- Adjust poles so your elbows form a 90-degree angle when gripping the handles
- Your forearms should be parallel to the ground
- This is your baseline adjustment for general hiking
Terrain-Specific Adjustments
Uphill Terrain
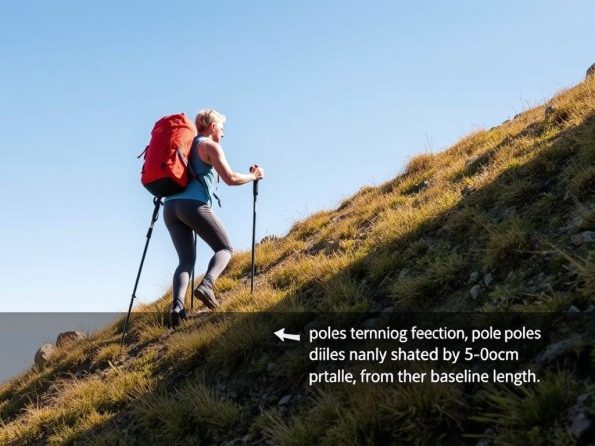
- Shorten poles by 5-10cm from your baseline
- This provides better leverage and support
- Steeper hills require shorter poles
Downhill Terrain
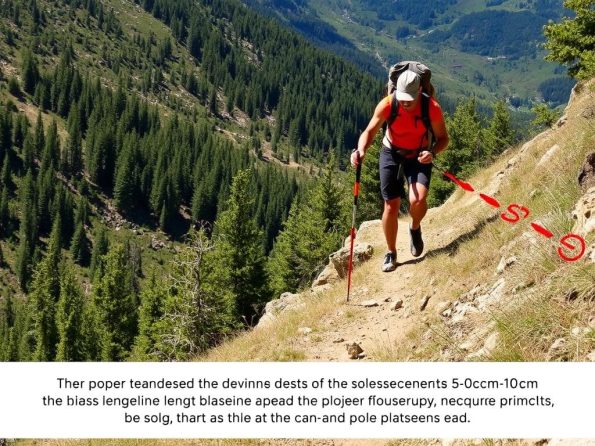
- Lengthen poles by 5-10cm from your baseline
- This reduces impact on knees and improves stability
- Place poles further in front of you
Traversing Slopes
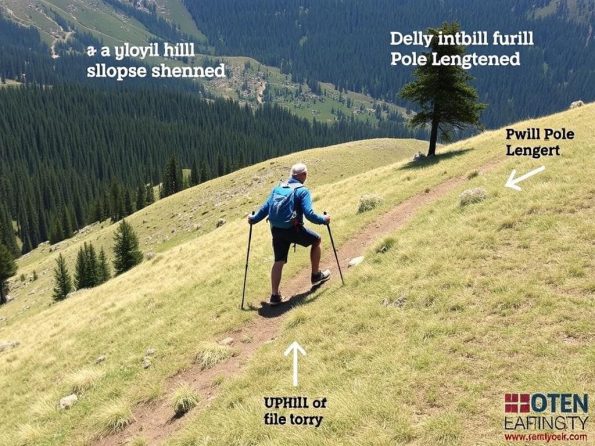
- Uphill pole: Shorter than baseline
- Downhill pole: Longer than baseline
- This compensates for the slope angle
Remember: Small adjustments make a big difference! Even 2-3cm can significantly impact comfort and efficiency. Take time to fine-tune your pole length for different terrain sections.
Proper Grip and Wrist Strap Usage
Many hikers use trekking pole straps incorrectly, which can lead to wrist strain or even injury. Here’s how to use them properly:
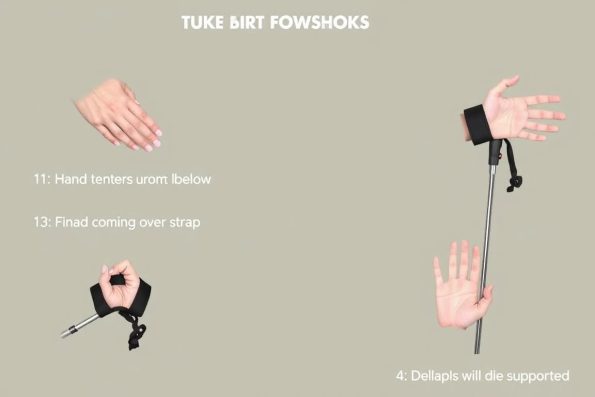
Correct Wrist Strap Technique
- Insert your hand upward through the bottom of the strap
- Bring your hand down over the strap so it crosses the top of your wrist
- Grip the handle while also holding the strap
- The strap should support some of your weight, reducing grip fatigue
- When properly adjusted, you should be able to open your hand while the pole remains supported by the strap
Grip Techniques
Standard Grip
- Hold the grip with a relaxed but secure hold
- Avoid squeezing too tightly
- Best for general hiking on most terrain
Extended Grip
- Hold the pole shaft below the main grip
- Used for steep downhill sections
- Alternative to lengthening poles
Palming Technique
- Cup the top of the pole in your palm
- Used for quick maneuvers
- Not recommended for extended use
Warning: Improper strap usage is a common cause of wrist injuries. Never wrap the strap around your wrist in a way that could trap your hand if you fall. The correct technique allows the pole to fall away freely if you release your grip.
Basic Walking Techniques with Trekking Poles
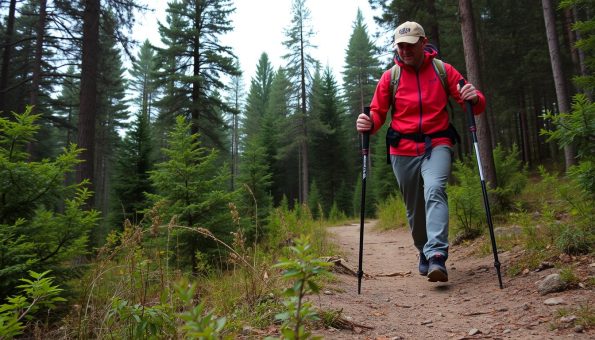
Mastering the basic walking technique with trekking poles is essential for maximizing their benefits:
The Alternating Rhythm
The most natural and efficient technique follows your body’s normal walking pattern:
- Move your right pole forward as your left foot steps forward
- Move your left pole forward as your right foot steps forward
- This creates a diagonal pattern that mimics your natural arm swing
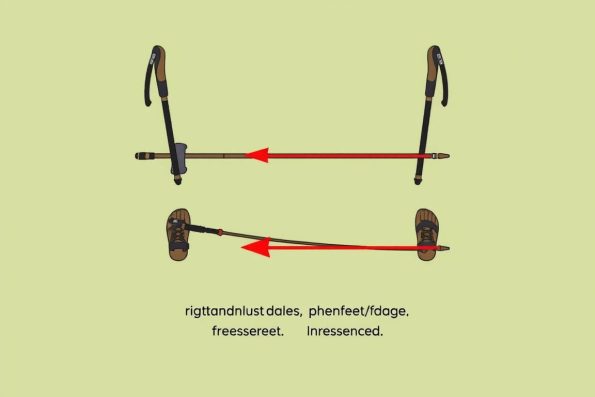
- The pole tip should land just behind the heel of your opposite foot
- Apply gentle downward pressure as you pass the pole
Pole Placement Techniques
Flat Terrain
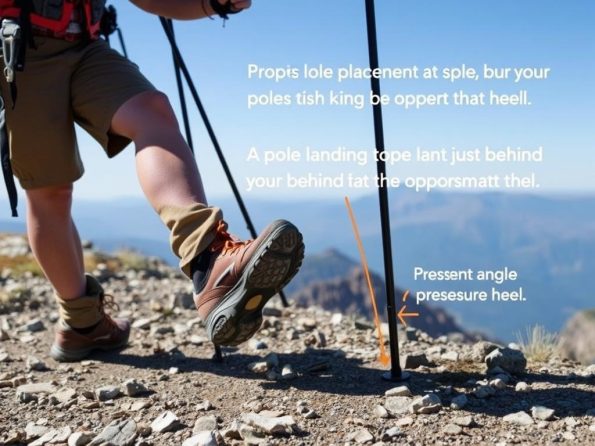
- Place poles at a slight angle behind you
- Apply moderate pressure to assist forward momentum
- Maintain a comfortable walking rhythm
Uphill Terrain
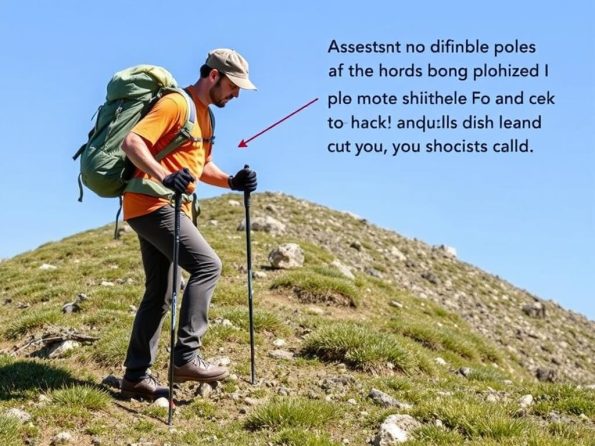
- Plant poles firmly in front of you
- Push down and back to assist your climb
- Lean slightly forward from the ankles
Downhill Terrain
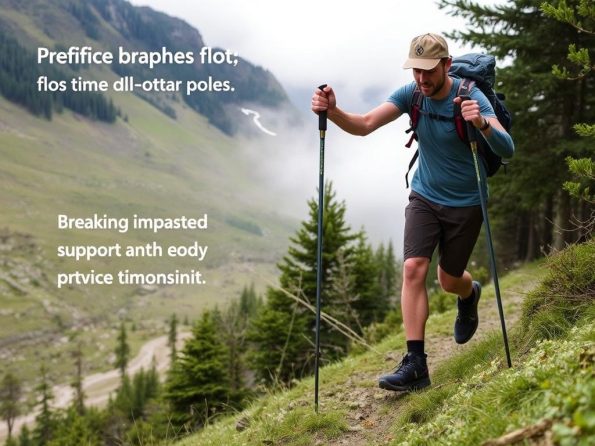
- Place poles further in front of you
- Use poles to brake and control descent
- Keep your center of gravity low
Master Advanced Trekking Techniques
Sign up for our free 5-day email course on advanced trekking pole techniques for different terrains and conditions.
Special Techniques for Challenging Terrain
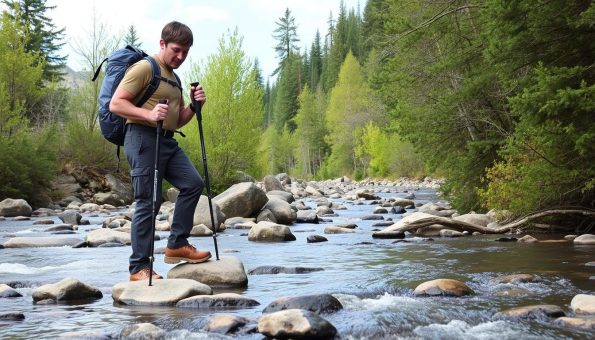
Beyond basic walking, trekking poles can help you navigate particularly challenging terrain:
Stream Crossings
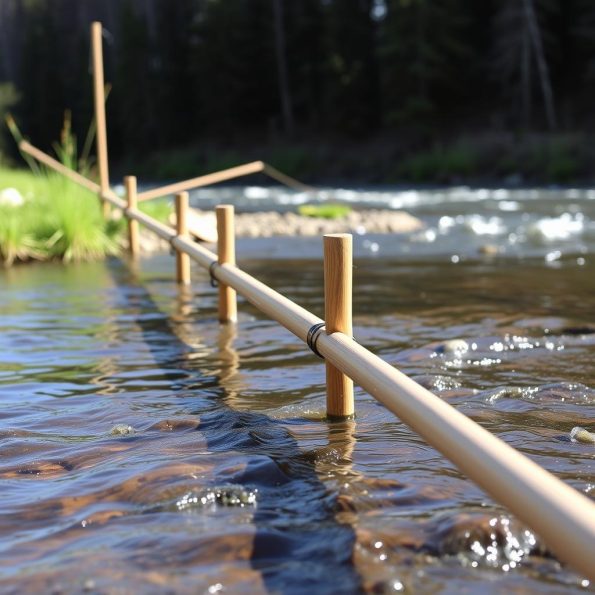
- Position poles slightly upstream
- Create a wide, stable tripod with your feet
- Test depth before committing weight
- Move one point of contact at a time
Rocky Terrain
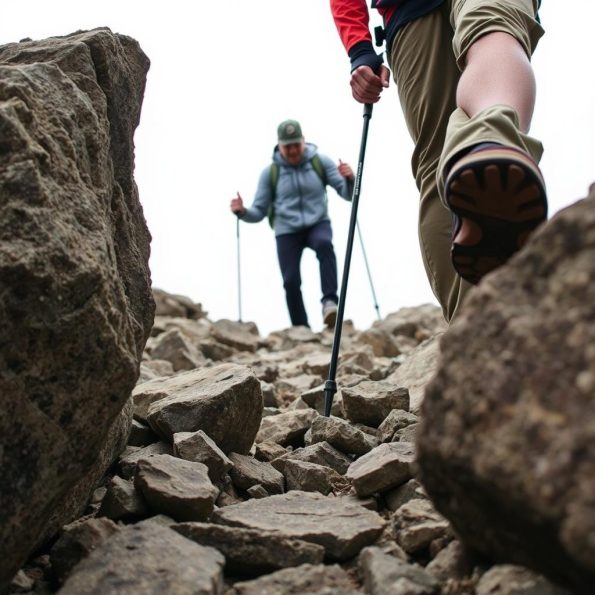
- Seek solid placement between rocks
- Shorten poles slightly for better control
- Use poles to test stability before stepping
- Keep poles closer to your body
Snow and Ice
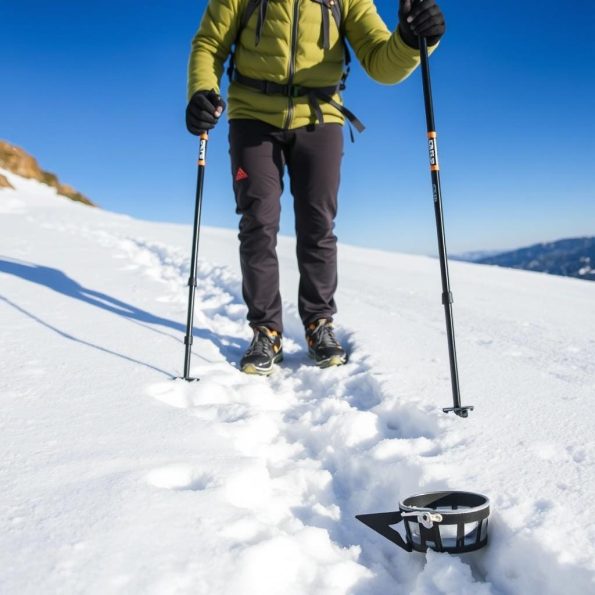
- Use snow baskets on pole tips
- Place poles wider for stability
- Apply more downward pressure
- Consider spike attachments for ice
Advanced Pole Techniques
Double Pole Plant
For extremely steep or difficult sections:
- Place both poles in front of you simultaneously
- Use upper body strength to pull yourself up or control descent
- Move both feet forward, then repeat the process
- Useful for very steep sections or when you need maximum stability
Three-Point Contact
For maximum stability in hazardous terrain:
- Always maintain three points of contact with the ground
- Two poles and one foot, or two feet and one pole
- Move only one point of contact at a time
- Slower but significantly safer on dangerous terrain
Common Trekking Pole Mistakes to Avoid
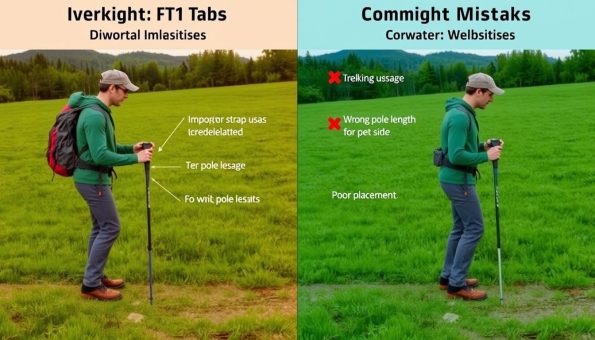
Even experienced hikers can develop bad habits with trekking poles. Here are the most common mistakes to avoid:
Correct Techniques
- Using proper wrist strap technique
- Adjusting pole length for different terrain
- Maintaining a natural walking rhythm
- Applying appropriate downward pressure
- Keeping a relaxed grip to prevent fatigue
- Planting poles at the correct angle
Common Mistakes
- Wrapping straps incorrectly around wrists
- Using the same pole length for all terrain
- Planting poles too far forward or backward
- “Fairy tapping” – not applying enough pressure
- Gripping poles too tightly, causing hand fatigue
- Using poles that are too short or too long
Technique Corrections
| Common Mistake | Potential Issues | Proper Technique |
| Incorrect strap usage | Wrist strain, potential injury during falls | Insert hand from below, let strap cross top of wrist |
| Poles too long/short | Poor posture, reduced efficiency, joint strain | 90° elbow angle on flat terrain, adjust for slopes |
| Gripping too tightly | Hand fatigue, cramping, reduced blood flow | Relaxed grip, let straps bear weight |
| Improper rhythm | Reduced efficiency, awkward gait | Opposite pole/foot (right pole with left foot) |
| Minimal pressure | Limited joint protection, stability benefits lost | Apply downward force as you pass the pole |
Did you know? Studies show that using trekking poles with proper technique can reduce the force on your knees by up to 25% when descending, but improper technique can actually increase strain on other parts of your body.
Trekking Pole Maintenance and Care
Proper maintenance ensures your trekking poles remain reliable and functional for years to come:
Regular Cleaning
- Wipe down after each use
- Remove mud from locking mechanisms
- Clean grip area with mild soap
- Rinse and dry thoroughly
Locking Mechanism Care
- Check tightness regularly
- Adjust flick locks with screwdriver
- Clean sand/grit from mechanisms
- Apply silicone spray sparingly
Tip Maintenance
- Inspect tips for wear
- Replace when significantly worn
- Keep rubber tips for sensitive surfaces
- Remove baskets when not needed
Storage Tips
Short-Term Storage
- Collapse poles to minimum length
- Ensure poles are completely dry
- Store in a cool, dry place
- Keep away from heat sources
- Don’t leave in car trunk during hot weather
Long-Term Storage
- Clean thoroughly before storing
- Loosen twist locks to reduce tension
- Store fully collapsed
- Keep in protective case or sleeve
- Store horizontally to prevent warping
Join Our Hiking Community
Connect with fellow hikers, share experiences, and get expert advice on trekking techniques and gear maintenance.
Frequently Asked Questions About Trekking Poles
Do I really need trekking poles for hiking?
While not absolutely necessary for all hikers, trekking poles provide significant benefits including reduced joint strain, improved balance, and increased stability. They’re particularly valuable for people with knee issues, those carrying heavy packs, or anyone hiking on challenging terrain. Many experienced hikers consider them essential gear once they’ve experienced the difference they make.
Can I use just one trekking pole instead of two?
Yes, using a single pole is an option and still provides some benefits. This approach is common among ultralight hikers or those who need one hand free for other tasks. However, using two poles provides more balanced support, better rhythm, and distributes the workload more evenly across your body. If you choose to use one pole, hold it on the side opposite your stronger leg.
Are trekking poles allowed on airplanes?
Trekking poles are generally not allowed in carry-on luggage as they may be considered potential weapons. Most airlines require them to be packed in checked baggage. Collapsible poles pack more easily. Some hikers have reported success bringing folding poles in carry-on luggage, but this varies by airline and security checkpoint. Always check your specific airline’s policies before traveling.
How do I know when to replace my trekking pole tips?
Replace your trekking pole tips when they show significant wear, such as blunting of the carbide point, cracks in the material, or when they no longer provide good traction. Most manufacturers sell replacement tips specifically designed for their poles. Regular inspection after hikes, especially challenging ones, will help you identify when replacement is needed.
Should I use rubber tips or carbide tips?
Use rubber tips on sensitive surfaces like rock slabs, wooden boardwalks, or paved trails to prevent damage and reduce noise. Carbide tips provide better traction on natural surfaces like dirt, mud, and loose rock. Many hikers carry both and switch as needed for different trail sections. Consider environmental impact – using rubber tips helps preserve trail surfaces.
Conclusion: Making the Most of Your Trekking Poles
Trekking poles are more than just accessories—they’re valuable tools that can transform your hiking experience when used correctly. By mastering proper adjustment, grip techniques, and walking rhythms, you’ll reduce strain on your joints, improve stability, and hike with greater confidence across all types of terrain.
Remember that developing good trekking pole habits takes practice. Start on easier trails to perfect your technique before tackling more challenging terrain. Pay attention to how your body feels and make adjustments as needed. With time, using trekking poles will become second nature, allowing you to focus on enjoying the beauty of your surroundings rather than the mechanics of your movement.
Whether you’re a day hiker, backpacker, or long-distance trekker, the techniques outlined in this guide will help you get the maximum benefit from your trekking poles. Your knees will thank you, your balance will improve, and you’ll likely find yourself hiking further and more comfortably than ever before.
Take Your Trekking Skills to the Next Level
Download our comprehensive trekking pole technique cheat sheet to keep these tips handy on your next adventure.