Quick answer up front: many guides use the terms interchangeably, yet users find practical contrasts that matter on trail.
Poles help on slick slopes, long descents, icy steps, and stream crossings. They steady your balance and cut joint impact over miles. This makes long outings more enjoyable.
This short guide will define terms in plain English and show which features matter most for your walking plans. Expect real-world tips, not a sales pitch.
We cover sizing for a natural arm angle, steady rhythm on rough routes, and how materials affect weight and durability. You’ll also learn about packability for travel and quick setup tricks that save time.
By the end you’ll have a friendly checklist to match common needs—day trips, multi-day backpacking, or casual trails—so your gear choice fits your needs and the terrain you love.
Key Takeaways
- Terms overlap: both offer stability and lower joint stress.
- Pick by use: weight, build, and packability shape the best option.
- Sizing matters: set poles for a natural arm angle and steady rhythm.
- Materials count: aluminum vs carbon affects durability and weight.
- Real-world tips: quick setup and travel-friendly designs ease logistics.
- Match gear to trip type for more comfort and fewer sore knees.
Hiking poles vs. trekking poles vs. hiking sticks: what’s the real difference?
Outdoor names often overlap, so the best first step is one clear rule: single versus pair. For easy town walks or mellow trails, a single hiking stick or staff gives basic balance with little fuss.
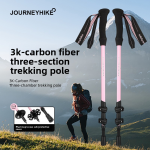
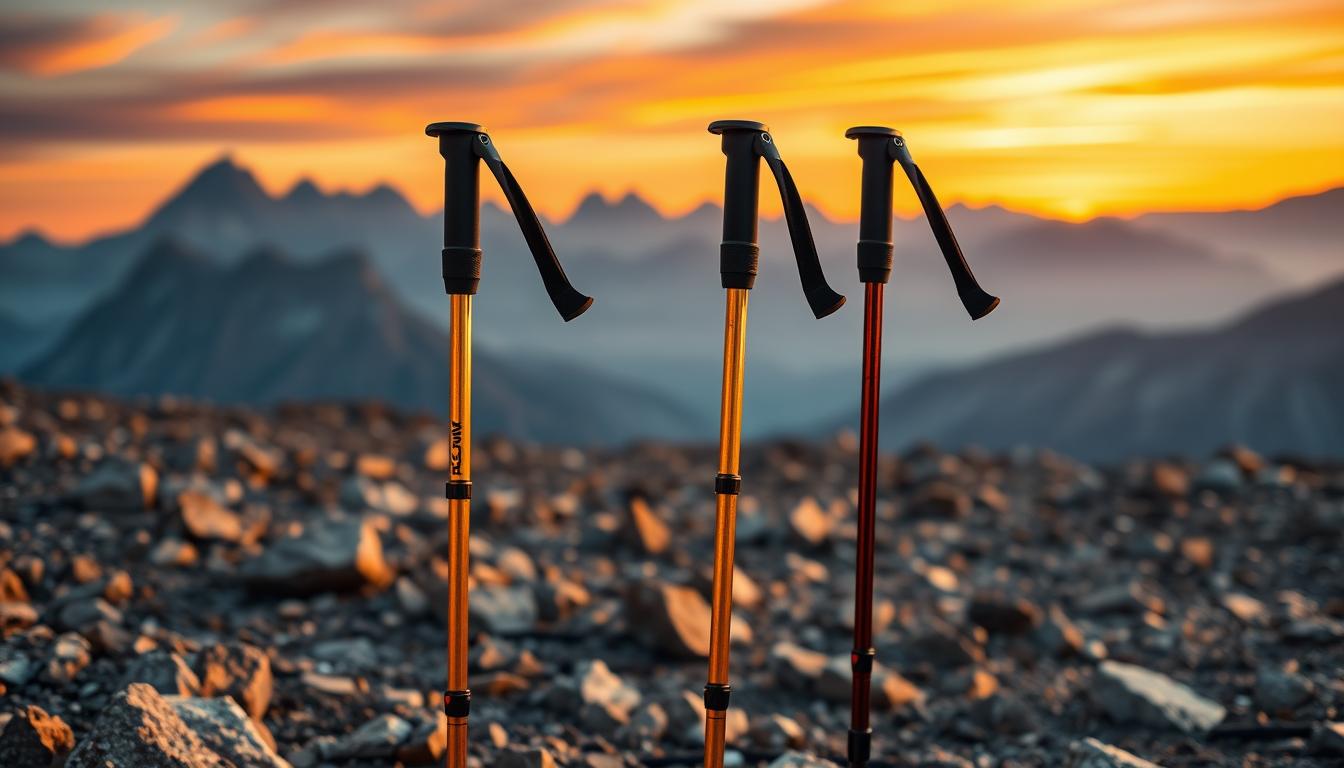
On rougher ground most hikers choose two trekking poles. A matched pair spreads weight and adds stability on loose rock, stream crossings, and steep slopes.
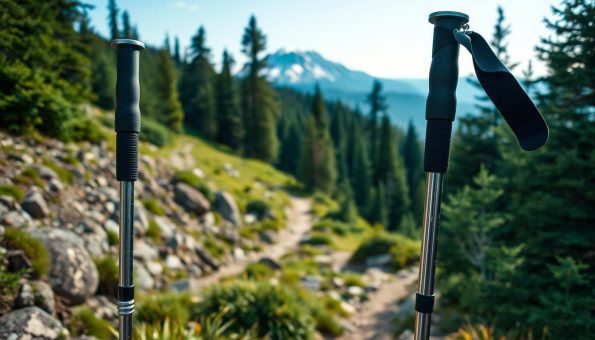
Terminology explained: single hiking staff vs. a pair of trekking poles
Think of a hiking stick as one contact point. It feels natural and light. It helps keep a steady walking rhythm on flat sections.
Trekking poles work like ski poles. Using two helps you plant, push, and keep balance when the trail gets variable. Many brands call both “hiking poles,” so judge by use not label.
“Pick one staff for casual walks; pick two poles for tougher terrain.”
- Tip: Start with a single stick if you want simplicity.
- Tip: Move to trekking poles when you carry a pack or face technical trails.
Features that matter on the trail: materials, weight, length, grips, and more
The right combination of shaft, grip, and lock saves energy on long days. Start by weighing how you hike: day trips favor light gear; loaded treks need durability. Below are the core features to evaluate.
Material and weight
Aluminum shafts are tough and bend before failing. They add a bit of weight but are field-repairable.
Carbon keeps overall weight low and cuts arm fatigue, yet can crack on hard impacts. Match material to your risk and pace.
Grips, locks, and length
Choose grips for comfort: cork molds to your hand, foam soaks sweat, and rubber grips resist wear but can chafe when wet.
Adjustable models let you set a ~90° elbow bend. Watch the lock—twist or lever systems can loosen with use. Fixed-length designs avoid that risk.
Tips, shock, travel, and extras
- Carbide tips bite soil and ice; rubber covers protect rock and luggage.
- Small shock systems ease downhill impact for sensitive knees.
- Collapsible designs fit checked baggage for travel; TSA requires poles in checked bags.
- Some products hide a camera mount or double as emergency splints.
“Pick the parts that match your route, not just the label on the box.”
Is there a difference between hiking poles and trekking poles? Use-cases by terrain, time, and ability
Match pole choice to the route: steep ridges, soggy valleys, and long mileage ask for different gear. Two poles shine on technical terrain. They help on steep descents, slick roots, and tricky stream crossings.
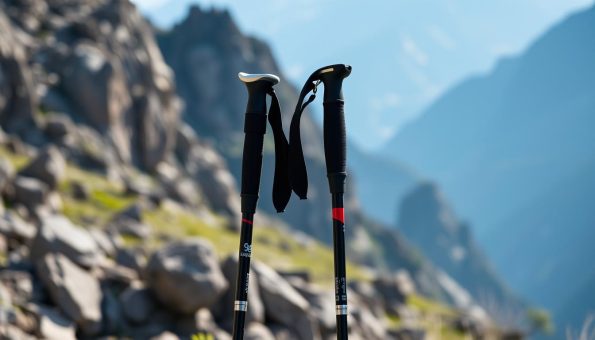
Terrain and stability
Use trekking poles on variable trails to boost stability on loose ground, snow, and wet rock. Wide baskets stop postholing in snow and mud.
Time and distance
Packing poles into your routine reduces repetitive impact over long hikes. Even small load sharing eases knee and ankle stress on multi-hour treks.
Fit and height
Shorten for steep climbs to drive with your arms. Lengthen for long descents to protect knees and keep posture upright.
Budget and durability
Newer users often pick aluminum for toughness; distance hikers may choose carbon for weight savings. Skip anti-shock or ultralight options if your needs are basic.
“Practice on moderate trails first; rhythm beats gear when conditions turn difficult.”
| Use-case | Recommended setup | Key benefit |
|---|---|---|
| Technical terrain | Two adjustable poles | Improved stability on uneven ground |
| Long-distance hike | Light carbon or sturdy aluminum | Lower repetitive impact over time |
| Snow/mud | Poles with wide baskets | Prevents sinking; easier planting |
| Travel trips | Collapsible pair | Packs in checked luggage; field repairs easy |
Conclusion
To conclude, focus on practical fit—what feels right in your hands and on the ground.
For most people the real choice is one stick or a pair of poles. A single staff suits easy walking. Two poles help on rough trails and steep sections.
Quick checklist: balance weight with durability, prefer cork or rubber grips for comfort, test the lock and length, and pick carbon or aluminum to match needs for travel and use.
Try gear on a local route. Practice relaxed hands, even plants, and small tip tweaks. That bit of practice beats perfect specs every time.
FAQ
Is there a difference between hiking poles and trekking poles? Guide
Many hikers use the terms interchangeably. Traditionally, a single staff or walking stick offers basic balance and can double as a tent support, while a pair of trekking poles provides rhythm, extra propulsion, and load distribution. Modern trekking poles often include adjustable shafts, ergonomic grips, and shock absorbers that a simple stick lacks. Choose based on comfort, terrain, and how much weight you carry.
Hiking poles vs. trekking poles vs. hiking sticks: what’s the real difference?
A hiking stick is usually a single, fixed-length staff favored for casual walks and minimal gear. Trekking poles are sold in pairs and focus on performance: adjustability, lightweight materials like carbon or aluminum, and trail-ready tips. For long treks and backpacking, pairs reduce joint stress and improve stability. For short, local walks, a stick can suffice.
Terminology explained: single hiking staff vs. a pair of trekking poles
A single staff gives simple support and can be a stylish, traditional choice. A pair of poles creates a steady walking rhythm, balances weight on uneven ground, and helps on steep climb and descent. If you carry a heavy pack or hike rocky trails, two poles are usually the better tool.
Material and weight: aluminum durability vs. carbon’s light feel
Aluminum is tough, affordable, and resists dings; it bends rather than snaps. Carbon fiber is lighter and reduces fatigue but can fracture under hard impact. For fastpacking and ultralight setups, carbon shines. For rugged guides and frequent use, aluminum wins for durability and budget.
Grips and handles: rubber, cork, foam — comfort, sweat, and hand fatigue
Cork molds to your hand and manages sweat well, reducing blisters. Foam is soft and warm in cold weather but soaks up moisture. Rubber grips offer firm control and durability for technical sections. Try grips in person when possible — comfort depends on hand size and your usual trail conditions.
Adjustable vs. fixed-length: fit to a 90° elbow bend, locks, and slippage
Adjustable poles let you set length for uphill, downhill, or varied users. Aim for a 90° elbow angle when on flat ground. Twist locks are lighter and sleek; lever locks are simple, reliable, and easier to adjust with gloves. Check for slippage after buying; cheap locks can loosen on long climbs.
Shock absorption systems: when anti-shock helps knees and joints
Anti-shock springs or dampers reduce impact on long descents and hard surfaces, easing knee strain. However, they add weight and can slightly reduce trail feedback. Hikers with joint pain or long downhill days benefit most; ultralight trekkers may skip this feature.
Tips, baskets, and rubber covers: traction on rock, mud, ice, and soft ground
Carbide or steel tips bite into frozen ground and rock. Larger baskets prevent sinkage in snow or mud. Rubber tip covers protect trails and reduce noise on pavement. Carry spare baskets and tip protectors — swapping them for conditions is simple and effective.
Packability and travel: collapsible designs, TSA rules, and checked baggage
Many poles fold small for backpacks or suitcases. Collapsible poles often meet airline carry rules better than fixed shafts; however, most airlines require trekking poles in checked baggage. Use travel models with internal locking segments and carry a padded sleeve to protect other gear.
Straps, rhythm, and technique: using straps correctly and finding your walking rhythm
Wrist straps transfer load to your arms and stabilize each plant. Thread your hand up through the strap and grip down to let the strap catch weight. Match pole placement to opposite foot — this improves cadence and reduces shoulder fatigue. Practice on flat ground before technical terrain.
Bonus utility: camera mounts and emergency splints on backcountry trails
Poles can double as tent supports, camera monopods, or emergency splints in first-aid situations. Some models include removable tips or adapters for cameras. For multi-day or backcountry trips, these extra uses make poles a versatile piece of gear worth the carry weight.
Terrain and stability: descents, climbs, slick surfaces, stream crossings, and snow
Two poles increase balance on slippery or uneven terrain, distribute weight when crossing streams, and brake on steep descents. Shorten poles for uphill power and lengthen slightly for controlled downhill steps. For snow, add larger baskets and anti-snow attachments for flotation.
Time and distance: reducing repetitive impact on long hikes and backpacking
Over many miles, poles reduce load on knees, hips, and ankles by sharing impact forces. This lowers fatigue and the risk of overuse injuries. If you plan multi-day routes or carry a heavy pack, poles help maintain speed and comfort over time.
Fit and height: dialing pole length for uphill and downhill efficiency
For flat sections, set poles so your elbow forms about a 90° angle. Shorten by 5–10 cm for steep climbs to gain leverage. Lengthen by a similar amount for descents to increase braking power and stability. Quick-adjust systems make these changes simple on the trail.
Budget and durability: choosing features you need (and skipping what you don’t)
Decide which features matter: carbon for weight savings, anti-shock for joint relief, or heavy-duty aluminum for durability. Midrange poles from brands like Black Diamond and Leki balance price and performance. Avoid paying for gimmicks you won’t use; prioritize locks, grips, and tip quality.