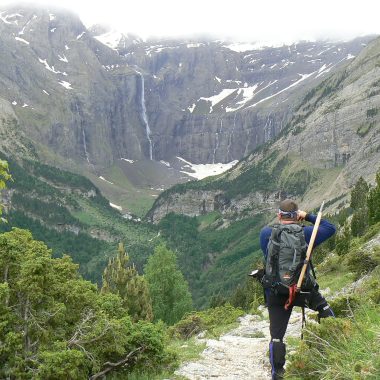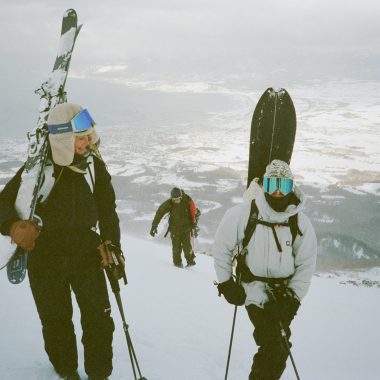
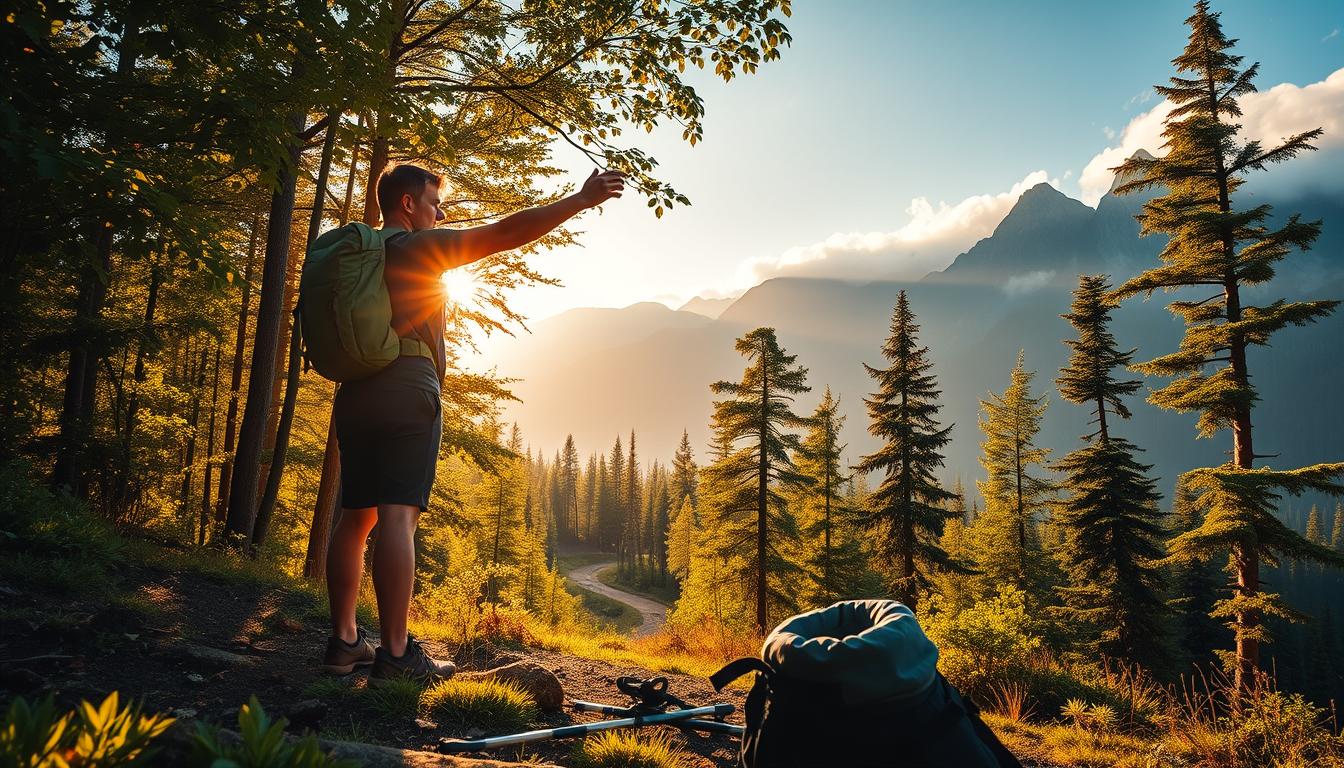
Ready for a great trek? Start by learning the route, distance, and elevation so you set realistic goals. Add one hour per 1,000 ft (305 m) of elevation gain when you plan daily time on the trail.
Training should blend steady cardio, strength moves like squats and lunges, plus step work and dynamic stretching. This mix makes hiking weeks feel sustainable and keeps fatigue low.
Layer clothing with a base, insulating midlayer, and a breathable, waterproof shell for shifting conditions. Break in boots early, test socks, and use trekking poles to ease knee and back stress.
Bring at least one liter of water, reliable lights, a compact compass whistle, and FiTiFT gear such as poles, a 4-season sleeping bag, and a durable wood stove for real-world training. For high-altitude trips, start training 3–4 months out, increase load about 10% weekly, and plan acclimatization days.
Key Takeaways
- Match training and pacing to your route and goals.
- Use the three-layer clothing system for changing conditions.
- Blend cardio, strength, and mobility in your training plan.
- Break in footwear early and test pack setup on shakedown hikes.
- Map elevation gain and add one hour per 1,000 ft when planning days.
- Carry core gear and hydrate consistently during training and trips.
Set yourself up for success: know your trail, time, elevation, and conditions
Choose trails by distance, climb, and footing so the route fits your current stamina and skill. Pick a route that tests you without overwhelming you; honest assessment of fitness level prevents avoidable strain and injury.
Use a simple rule: add about one hour for every 1,000 ft of elevation gain when you plan time on the trail. Steep grades often start near 400 m (1,312 ft) per 1 km; adjust pace and breaks accordingly.
- Logistics: check trailhead access, shuttles, and point-to-point needs well before the trip.
- Season and daylight: confirm current conditions, closures, and daylight windows to avoid late finishes.
- Water and crossings: map sources and wear proper footwear for river crossings and wet surfaces.
- Navigation backup: carry FiTiFT’s Compass Survival Whistle 2-in-1 for signaling when route-finding gets confusing.
| Factor | Plan | Why it matters |
|---|---|---|
| Distance & surface | Match to fitness level | Prevents overexertion and blisters |
| Elevation | Add 1 hr / 1,000 ft | Accounts for slower climbs and rests |
| Season & access | Check closures & daylight | Reduces risk of surprise route changes |
Tip: slot in training hikes that mimic your target trail’s elevation and surface so pacing and gear feel right on trip day.
How to prepare your body for trekking?
A clear plan beats guesswork. Start with a quick baseline: log current fitness level, any past injuries, and your main trek goal. This record guides safe progression and keeps expectations realistic.
Assess your baseline
Document fitness and limits. Note endurance, strength gaps, and aches so you pick the right exercises and recovery plan.
Progress gradually
Begin training 3–4 months before departure and increase total volume, elevation, and pack weight about 10% per week. Use steady-state cardio (30–60 minutes) and stair sessions with a light pack.
Structure the week
- Mix hikes, steady cardio, and resistance work (upper/lower split).
- Practice steps and hills to groove technique with a pack.
- Include one core-focused workout and dynamic warm-ups before each session.
Rest strategically
Take one or two active recovery days weekly—easy walks or mobility flows—to help the body adapt and reduce soreness. Taper in the final week, keep easy movement, and prioritize sleep so you arrive fresh.
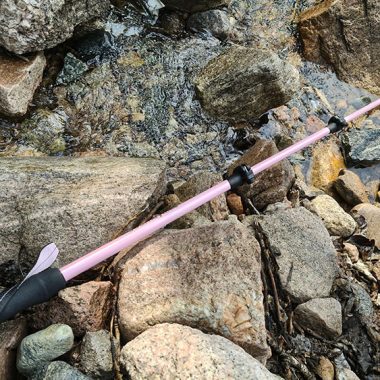
Pro tip: Bring FiTiFT 3K Carbon Fiber Trekking Poles on training walks to refine pole timing and cut knee load as you extend uphill and downhill efforts. https://www.fitift.com/product/carbon-fiber-trekking-poles/
Build endurance, strength, and stability for varied terrain
A balanced routine pairs 30–60 minute cardio with resistance moves and pack rehearsals. Aim for steady sessions like walking, cycling, or swimming most days to build endurance and breathing economy.
Reserve two to three resistance days for targeted strength. Focus lower body with squats, lunges, step-ups, and deadlifts to develop leg drive and hip resilience.
Train core with planks and anti-rotation holds so your trunk stays steady on rocky surfaces. Add upper body work—push-ups, rows, and shoulder stability—to support a loaded pack.
Make sport-specific sessions count: stair intervals and hill repeats with a modest pack mimic hiking demands and teach pacing.
- Cardio: 30–60 minutes steady-state most days.
- Resistance: 2–3 weekly workouts for strength and coordination.
- Specificity: weighted day hikes, stairs, and pole practice transfer gains to trail work.
Tip: Train with FiTiFT 3K Carbon Fiber Trekking Poles to refine rhythm on climbs and descents; they cut impact while keeping momentum.
Train smart for high altitude, pacing, and mindset
When altitude rises, your pace, breath, and mindset must shift with it. Start altitude-focused training 3–4 months out and increase load gradually so your endurance grows without sharp jumps.
Acclimatization basics
Ascend slowly and schedule easy days on arrival. Make sure your itinerary includes rest days so the body adapts before pushing hard.
Breathing rhythms
Practice diaphragmatic, yogic breathing during training. This lowers panic, controls effort, and steadies the mind when high altitude exertion spikes.
Hydration habits at elevation
Drink more, earlier, and consistently. Low humidity and faster breathing increase fluid loss, so sip water often and monitor urine color.
Slow, steady pacing
Use small steps and a steady cadence on long climb days. Conservative pacing preserves energy and improves the chance you complete each day strong.
- Log time on hilly routes to mimic slower trek rhythms.
- Remember: altitude can affect anyone—fitness helps but pacing and hydration are key defenses.
- Pack reliable illumination for pre-dawn starts and late finishes: FiTiFT Multifunctional High-Intensity Flashlight (Orange) and EDC Flashlight (Red), both USB-rechargeable.
Tip: train breathing and pacing together so when a steep pitch arrives, the mind stays calm and effort stays steady.
Dial in your clothing with the 3-layer approach
Dialing your layers correctly lets you move comfortably through sudden weather shifts on the trail. Use three purposeful pieces so you can react fast as conditions change through the day.
Transfer (base) layer: moisture management against the skin
Make sure your base layer wicks efficiently so sweat moves away from skin and evaporates. Avoid cotton; choose merino or synthetic fabrics that dry fast and limit chill when damp.
Insulating layer: fleece or similar to regulate body heat
Pick a midweight fleece or puffy you can zip or vent. Double up in colder conditions so you can tune warmth without bulk or long stops.
Outer shell: waterproof, windproof, breathable protection
Carry a shell that blocks wind and sheds rain while letting moisture escape. This layer protects you when showers arrive or wind picks up on exposed ridges.
Head, hands, and lower body: materials that insulate, breathe, and dry fast
Pack a beanie and lightweight gloves; warming extremities often fixes comfort quickly. Use quick-drying pants and leave sunglasses handy for glare and UV.
- Practice layer changes during training so you save time and stay safe on night moves.
- For variable weather and night hiking, pair layers with FiTiFT lighting so you can adjust clothing after sunset or before dawn.
“Dress head to toe in wool or synthetics, not cotton—it’s the best way to stay warm and dry when water meets wind.”
Protect your feet, legs, and back before big days out
Good foot care starts long before the trailhead: choose supportive, waterproof mid-weight boots with ankle support and wear them on short training walks so feet adapt and hot spots don’t ruin longer hikes.
Footwear and socks matter more than you think. Rotate merino socks to manage moisture and reduce friction. Pack at least one extra pair, and carry a small blister kit with tape and pads.
Break them in, then test on hikes
Wear new boots on several short hikes with similar weight in your pack. Check lacing and change insoles if needed so foot movement is minimal and toes don’t hit the front.
Tackle wet crossings smartly
Bring river shoes when water crossings are expected. They give grip on slick rocks and protect the foot in cold streams.
Use poles the right way
Practice pole technique to shift load off knees and the back on steep climbs and long descents. Poles cut impact and help control balance as pack weight rises.
- Make sure lacing and insoles stabilize heel and midfoot to prevent blisters.
- Add calf and shin mobility after hikes so leg tissues stay supple.
- Sleep well with a recovery bag such as FiTiFT’s Sleeping Bag for All Seasons to help feet and back recover overnight.
- Consider FiTiFT 3K Carbon Fiber Trekking Poles (2-pack, Green) for joint-friendly support when you increase pack weight. They’re useful during training and on long treks.
Quick tip: a short walk in new boots beats a long day of pain—break them in gradually and check feet often on trail.
Pack essentials and smart FiTiFT gear to support your training and trek
Keep weight low by prioritizing water, insulation, and a waterproof shell. A 25–40 L daypack works for single-day moves; larger 70–80 L bags suit supported multi‑day trips.
Light, reliable illumination
Use USB-rechargeable lights like the Multifunctional High-Intensity Flashlight (Orange) and the EDC Flashlight (Red) for dawn starts and late finishes.
Navigation and signaling
The Compass Survival Whistle 2-in-1 (Stonewashing) is a tiny, weight-saving way to carry compass and emergency signal in one piece.
Efficient camp cooking
Stainless Steel Wood Stove (multifunctional smokeless) cuts fuel needs and stows neatly in a smaller backpack.
Recovery-ready sleep and joint support
Sleep warmer with the Sleeping Bag for All Seasons (2.2 kg). Protect knees with 3K Carbon Fiber Trekking Poles (2-pack, Green) for steady descents.
“Pack light, pack right — your feet and knees will thank you on day three.”
| Item | Benefit | Suggested carry |
|---|---|---|
| Multifunctional Flashlight / EDC | Extended safe movement, USB recharge | Top pocket / chest strap |
| Compass Survival Whistle | Navigation backup and signaling | Neck or hip loop |
| Stainless Steel Wood Stove | Efficient, low-smoke cooking | Bottom of main pack |
| Sleeping Bag / Trekking Poles | Recovery sleep and joint relief | Main compartment / external straps |
Safety, nutrition, and timing: make sure you’re ready on trek day
Good timing, steady hydration, and smart food choices set the stage for a strong day on trail.
Fuel right: balanced whole foods, electrolytes, and consistent hydration
Eat whole foods in the days before the trip: complex carbs, lean protein, and healthy fats keep energy steady and avoid big spikes.
Sip water early on the day of the hike and keep drinking small amounts. Add electrolytes during long efforts or when altitude or heat raises sweat rates.
Prevent injuries: warm-ups, dynamic stretches, and mobility work
Start each training or hike day with a 5–10 minute warm-up of dynamic exercises like leg swings and trunk twists.
Include two to three short mobility blocks weekly for hips, ankles, and the thoracic spine. These exercises protect joints under pack load.
The final week: taper volume, keep easy movement, and sleep well
Reduce volume but keep light, short sessions so strength and endurance stay primed. Avoid total rest that can dull timing and feel.
Prioritize sleep and review meetup time, cutoffs, and weather windows. Share your itinerary and bring quick-access lights: keep a FiTiFT EDC Flashlight in your hip belt pocket for pre-dawn starts and a high-intensity model in your pack as backup. Pair lights with poles when trails are dark or slick.
Quick checklist: hydrate early, eat balanced meals in the days before, warm up each session, keep mobility work, taper smartly, and carry reliable lighting.
| Focus | Action | Why it matters |
|---|---|---|
| Hydration | Sip water regularly; add electrolytes on long or hot days | Supports cardiovascular function and steady pace |
| Warm-up | 5–10 min dynamic exercises before activity | Reduces injury risk and primes muscles |
| Taper | Lower volume but keep short training touches | Arrive fresh with preserved strength and endurance |
| Plan & safety | Confirm meetup time, cutoffs, and share itinerary | Improves response if weather or route slows the trip |
Conclusion
, Bring training gains onto the trail with a tidy plan, reliable gear, and steady pacing.
Start early — build for 3–4 months, increase load about 10% each week, and blend 30–60 minute cardio with 2–3 resistance sessions. Taper the final week, keep easy movement, and prioritize sleep so the trip day feels familiar.
Pad time for elevation (add one hour per 1,000 ft) and break in boots. Keep merino socks, a three-layer shell, and steady hydration as core parts of kit and routine.
, Kit up with FiTiFT essentials: Compass Survival Whistle 2‑in‑1, USB flashlights, the 2.2 kg All Seasons Sleeping Bag, 3K Carbon Fiber Trekking Poles, and the Stainless Steel Wood Stove. Explore fitift.com to match weight targets and finish strong.
FAQ
What starting checks should I do before a multi-day hike?
Assess fitness level, note past injuries, set realistic goals, and match planned distance and elevation to what you can currently manage. Factor in travel logistics, season, daylight, and trail access so the itinerary fits your abilities and time window.
How quickly should I increase training load for longer treks?
Progress gradually — aim to raise distance, elevation, or pack weight by about 10% per week. That steady increase helps build endurance and reduces injury risk while letting muscles and tendons adapt.
What weekly training mix gives the best results?
Structure workouts with a combination of hikes, steady cardio (walking, cycling, swimming), resistance training for lower body and core, and at least one active recovery or full rest day. Balance prevents burnout and builds diverse fitness.
Which exercises target the muscles used most on trails?
Focus on squats, lunges, step-ups, deadlifts, and planks for lower-body and core strength. Add push-ups and rows for upper-body support to carry a backpack comfortably over varied terrain.
How should I practice with a pack before a big trek?
Do stairs and hill repeats wearing your loaded pack to mimic trail demands. Start light and increase weight gradually so your back, hips, and shoulders adjust without pain.
What are key steps for altitude readiness?
Acclimatize by ascending gradually, schedule easy days after arrival, drink more and earlier, and use slow breathing rhythms to control effort. If you feel severe symptoms, descend and seek help.
How do I pick clothing layers for changing conditions?
Use the three-layer system: a moisture-wicking base layer, an insulating midlayer like fleece, and a breathable waterproof windproof outer shell. Choose headwear, gloves, and quick-dry pants appropriate for expected temps and wetness.
What footwear and sock choices prevent blisters and fatigue?
Opt for well-fitting waterproof boots and merino or synthetic hiking socks. Break boots in on short walks and consider river shoes for water crossings. Good footwear support reduces strain on feet, legs, and back.
Are trekking poles worth bringing and how do I use them?
Yes. Poles reduce knee and back stress on climbs and descents, improve balance on technical sections, and let you distribute load to upper body. Practice pole technique on training hikes to sync rhythm with steps.
What essential gear helps support training and campsites?
Bring reliable illumination like high-intensity and EDC flashlights, a compass with survival whistle, a compact stainless steel wood stove for efficient cooking, a season-appropriate sleeping bag, and sturdy carbon fiber trekking poles.
How should I eat and hydrate during training and on trek day?
Fuel with balanced whole foods, include electrolytes, and sip regularly rather than waiting to feel thirsty. Practice your trail nutrition during training hikes so your gut tolerates the foods you plan to eat on the route.
What warm-ups and recovery work prevent injuries?
Do dynamic warm-ups before hikes and resistance sessions, include mobility drills for hips and ankles, and schedule foam rolling or gentle stretching afterwards. Rest strategically: recovery days let muscles rebuild stronger.
How do I approach the final week before departure?
Taper training volume, keep movement easy, prioritize sleep, and finalize gear and nutrition plans. Light walks with your pack and short mobility sessions keep legs fresh without adding fatigue.
Any tips for pacing on long days or at elevation?
Use a slow, steady pace and keep effort conversational. Break long climbs into segments, monitor breathing, and adjust pace to conditions. Conserving energy early makes for stronger finishes.
When should I seek professional advice before attempting a difficult trek?
Consult a doctor if you have chronic health issues, recent injuries, or plan high-altitude expeditions. A physical therapist or certified trainer can help tailor strength and conditioning plans for specific terrain and load requirements.