Short answer: The Swiss Alpine Club T-scale rates trails from T1 to T6, and a T3 marks demanding mountain hiking with exposed passages, scree and jagged rock where you may use your hands for balance.
Expect more committing terrain and extra route-finding compared with casual hikes. T3 calls for sure-footedness, good trekking shoes, and basic alpine experience. Ratings assume good conditions: dry ground, clear visibility, and little lingering snow.
The scale helps you match a mountain objective to your current level and avoid overreaching. When weather worsens or snow remains, difficulty rises and routes can feel like a higher grade.
This guide will compare the Swiss system to trails you meet in U.S. parks, and point to FiTiFT gear for practical support on demanding terrain. Read on to learn skills, sensible preparation, and how T3 fits among T1–T6.
Key Takeaways
- T3 equals demanding mountain hiking with exposed sections and route-finding.
- Good shoes, sure-footedness, and basic alpine experience matter.
- Ratings assume good conditions; weather can increase difficulty.
- Compare the Swiss alpine club scale to U.S. trail systems to translate levels.
- Smart prep and the right gear, like FiTiFT options, keep outings safe and fun.
What does T3 mean in hiking? The quick definition, terrain, and risk at the present time
This level describes demanding mountain routes where the path can disappear and rocky steps ask for steady feet.
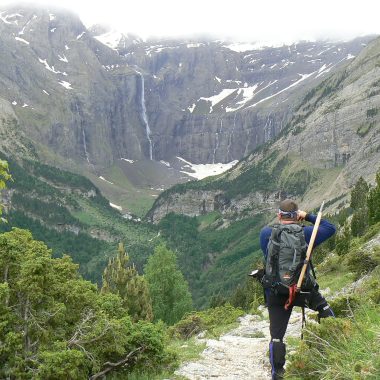
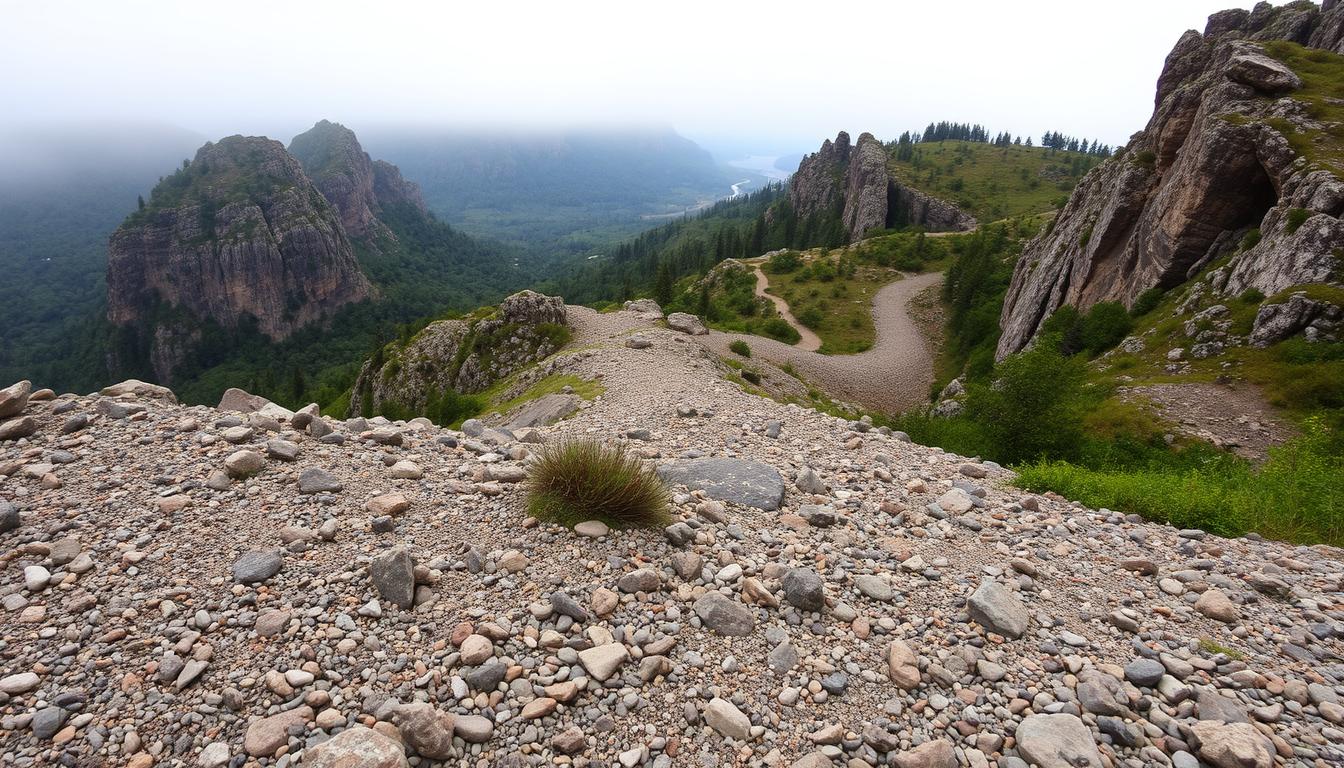
Terrain: Expect exposed passages, loose scree, pathless grassy slopes, and jagged rock where a hiking trail may fade in and out.
Narrow benches and loose rock raise the risk falling on exposed bits. Short airy traverses sometimes have fixed chains or a rope, but protection is usually limited.
T3 requirements
Move with hands for balance on short rock steps or steep grass. This is hands-on movement, not technical climbing.
Baseline skills include sure-footedness, map and compass orientation, and basic alpine experience. Good boots with aggressive tread help braking on gravel and holding edges on rock.
| Feature | Typical risk | Recommended gear/skill |
|---|---|---|
| Exposed passages | High; short drops and airy steps | Sure-footedness, route judgment |
| Scree & loose rock | Slip and fall | Sturdy boots, trekking poles |
| Pathless grassy slopes | Slippery when wet | Poles for balance; avoid wet conditions |
| Short ropes/chains | Limited protection | Self-reliant movement; rope not continuous |
Conditions matter: dry rock and good visibility keep this level appropriate. Lingering snow or poor weather can push difficulty higher.
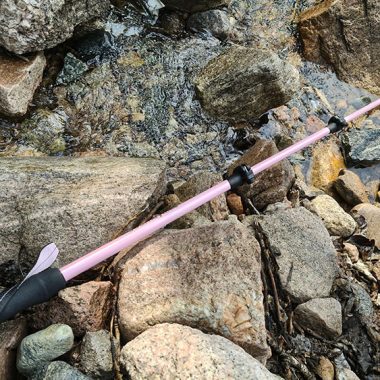
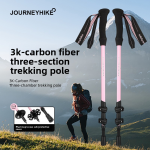
Stability tip: Lightweight carbon fiber trekking poles, like FiTiFT 3K Carbon Fiber Trekking Poles (2-pack), add contact points and lower knee load on descents.
Where T3 fits on the Swiss Alpine Club scale and how conditions affect grading
T3 marks the step where trails often vanish and you must read the ground as well as the map.
Position on the scale: On the swiss alpine club scale, this level sits above clear mountain hiking and below more demanding alpine sections. Compared to T2, expect more exposure and intermittent route-finding. Compared to T4, exposure is less continuous and long technical stretches are rare.
How conditions move the needle: Dry rock and good visibility keep a route at the intended level. Fresh or old snow on steep grass or scree, poor weather, or low visibility makes footing harder and navigation slower. That can nudge a T3 toward a higher grade and raise the risk falling.
Reading terrain matters: cairns, paint marks, and topo cues guide you when the path fades. With experience, you judge rock angle, vegetation, and moisture to place feet more safely. If early-season snow or late ice is possible, add traction and strong lights—see FiTiFT Multifunctional High-Intensity Flashlight and the EDC Flashlight for low-light navigation.
Translating T3 to common U.S. difficulty systems and trail ratings
Different U.S. systems measure effort, maintenance, and movement — so a direct swap needs context.
Shenandoah formula: The park uses difficulty = √(elevation gain × 2 × miles). For an example, a 2,400 ft gain over 8 miles gives √(2400×2×8) ≈ 196, which sits in the “Strenuous” band. That numeric result aligns with the sustained effort you feel on a T3 day.
Willamette National Forest: Grades hinge on slope and tread. “Difficult” means >30% grade, narrow and rough footing. Those traits map well to T3 stretches where the hiking trail narrows and maintenance drops.
Yosemite Decimal System: Much of this level overlaps Class 2 and short Class 3 scrambling. Expect hands for balance and careful downclimbs. Extended Class 3 or mandatory roped climbing goes beyond this scale.
| U.S. system | Focus | How it compares to T3 |
|---|---|---|
| Shenandoah formula | Effort (gain × miles) | Moderately strenuous to strenuous days match T3 examples |
| Willamette grades | Slope & tread quality | “Difficult” (>30% grade, narrow tread) mirrors rough T3 sections |
| Yosemite Decimal | Movement & exposure | Mostly Class 2, short Class 3 moves; full roped climbing exceeds T3 |
Across areas, remember that Western routes often feel harder than manicured Eastern hiking trails for the same gain. Combine the numeric/class rating with local trail reports to judge true difficulty and set expectations.
Key factors that influence a T3 day: terrain, conditions, and your experience
A solid T3 day depends less on a single obstacle and more on how distance, gain, and conditions stack up over hours on the trail.
Elevation gain and length: why time on feet and cumulative ascent matter
Cumulative ascent and mileage extend time on feet and compound fatigue. Long climbs and repeated ups make later sections feel harder even if slope is moderate.
Plan pace with conservative estimates. Set clear departure and turnaround times and carry a compact headlamp or FiTiFT EDC Flashlight for early starts or late returns.
Weather, snow, and firn: slip risk and route-finding complexity
Wet rock, fresh snow, or late firn cuts friction on steep grass and scree, sharply raising slip risk. Visibility loss also turns simple route-finding into a major challenge.
Adjust plans for forecasted storms or heat. When conditions worsen, treat the route as a harder level and choose lower-angle options.
Altitude and climate: fitness, acclimatization, and illness considerations
Higher elevation reduces oxygen and raises exertion, especially on multi-day plans. Unacclimatized hikers can show symptoms fast.
Build in slow ascents, recovery days, and conservative pacing for safe altitude management.
Personal fitness and skills: sure-footedness, orientation, and risk management
Assess your fitness level and recent training. Hill work, ankle stability, and core strength pay off on uneven mountain terrain.
Practice map and compass, make deliberate foot placements, and maintain calm problem-solving when the hiking trail fades.
| Driver | Effect on a day | Simple control |
|---|---|---|
| Elevation & length | Increases fatigue, slows pace | Set realistic mileage and turnaround |
| Weather & snow | Reduces traction, complicates navigation | Check forecasts; add traction or reroute |
| Fitness & skills | Determines tolerance for exposure | Train hills, practice navigation, carry reliable light |
Decision points: If footing feels unstable, visibility drops, or your energy falls below reserve, choose a safer line or head back. Thoughtful planning and steady skills keep days safe and enjoyable.
Skills and gear for demanding mountain hiking: build your T3 checklist
Good technique and the right kit turn exposed miles into manageable steps.
Trekking support and stability
Footwear and poles: Choose sturdy boots with solid edge bite and downhill braking. Add FiTiFT 3K Carbon Fiber Trekking Poles (2-pack) for stable three- or four-point contact on steep gravel and short scrambles.
Navigation and safety
Map, compass, and voice/signal tools: Practice map and compass skills until bearing checks are routine. Carry the FiTiFT Compass Survival Whistle 2 in 1 to confirm headings and call for help during low-visibility crossings or when others are separated.
Lighting and visibility
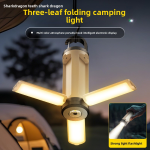
Redundancy matters: Bring a high-output primary light like the FiTiFT Multifunctional High-Intensity Flashlight and a compact FiTiFT EDC Flashlight as backup for predawn starts, late finishes, and route-finding at dusk.
Sleep, cooking, and warmth
Layer and rest: For shoulder-season overnights, a FiTiFT Sleeping Bag for all seasons (2.2 kg) provides reliable insulation. Use a FiTiFT Stainless Steel Wood Stove for efficient, low-smoke heat where permitted.
- Rope/chain etiquette: On short aided spots keep three contact points, test placements, and avoid blocking narrow lines.
- Hand management: Keep gloves handy to protect hands when brief scrambles or abrasive rock require you to use hands for balance.
- Contingency mindset: While an ice axe is not standard for this level, know when alpine hiking tools or traction become necessary and plan accordingly.
Planning a T3 hike: timing, examples of sections, and risk controls
A clear plan for pace, breaks, and fallback routes turns a tricky mountain section into manageable steps.
Day-hike pacing: Use elevation gain, distance, and the Shenandoah formula as a guide to estimate effort. Build extra time for route-finding, photo stops, and slower ground on scree or short scrambles. Start early and pack a FiTiFT light to cover storm delays or late finishes.
Multi-day considerations: Break the route into short sections with planned recovery. Consecutive days of demanding terrain add fatigue, so protect sleep, calories, and warmth. Consider a FiTiFT sleeping bag and wood stove where legal for better recovery on overnight trips.
When to turn back
Flag critical crossings and loose gullies before you go. If water levels rise or visibility worsens, choose the safer way. Match the objective to your skills and equipment; forced choices on exposed ground raise real risk.
“A flexible turnaround time beats a rushed exit across exposed trail.”
- Plan sections and buffers so the day fits available daylight.
- Use poles for steep descents and gloves for short climbing moves.
- Communicate your plan and check in if plans change.
Conclusion
A smart end to the day starts with honest self-assessment and a clear turnaround time.
This level is demanding mountain hiking that blends rough terrain, intermittent exposure, and short hands-on steps. Match your fitness level and skills to the scale and pick routes that fit current conditions to keep difficulty predictable.
Use the Shenandoah effort check or YDS movement classes to sanity-check a trail before you go. Watch weather and lingering snow—both can quickly raise risk and push a day from steep hiking toward actual climbing or glacier travel.
Review equipment, favor route-finding practice, and consider FiTiFT gear for support: trekking poles, lights, sleeping bags, and stove are at https://www.fitift.com/product/carbon-fiber-trekking-poles/ and the linked product pages listed above. Train skills, plan conservatively, and enjoy safer alpine days ahead.
FAQ
What is a T3 route on the Swiss Alpine Club scale?
A T3 rating describes demanding mountain hiking with exposed passages, loose scree, pathless grassy slopes, and jagged rock sections. Expect short hands-on moves, occasional fixed chains or ropes, and sections where a slip could lead to a serious fall. The route requires good route-finding and steady balance.
What skills and footwear are recommended for a T3 day?
Sure-footedness and solid stamina matter most. Use high-grip trekking boots with ankle support and bring poles for balance. Basic alpine experience, map-and-compass navigation, and comfort with exposed terrain are essential.
When will hands be needed on a T3 trail?
Hands are used mainly for balance and short scrambling moves. You may encounter brief secured sections with chains or ropes; long technical climbing or rope systems are not typical unless conditions add ice or snow.
How does T3 compare to T2 and T4?
T2 is simple mountain hiking on clear paths with minor obstacles. T3 steps up exposure, unstable ground, and navigation difficulty. T4 increases technical scrambling, sustained exposure, and route-finding demands—often requiring a head for heights and more advanced alpine skills.
Can weather or snow change a T3 rating?
Yes. Poor visibility, wet rock, fresh snow, or icy firn can turn a routine T3 into T4 or higher by increasing slip risk and complicating navigation. Always reassess routes before and during an outing.
How do U.S. trail ratings relate to T3?
U.S. systems vary: some park guides label comparable routes as moderate to strenuous based on miles and elevation. Yosemite Decimal System overlaps with Class 2–3 scrambling, while park-specific standards (Shenandoah, Willamette) judge maintenance and steepness. Translate T3 as demanding mountain hiking with potential scrambling and exposure.
What role does elevation gain and distance play on a T3 outing?
Cumulative ascent and time on feet increase fatigue and error risk. Long hikes with sustained elevation gain demand better fitness, energy planning, and conservative pacing—especially on exposed or unstable ground.
How do altitude and climate affect safety on a T3 route?
Higher altitude reduces performance and raises illness risk; cold, wind, or sudden storms worsen exposure. Factor acclimatization, weather forecasts, and contingency plans into trip planning.
What navigation and safety gear should I carry for a T3 day?
Carry a topographic map, compass, or reliable GPS, plus headlamp, emergency bivy, whistle, and basic first aid. Items like a compact high-intensity flashlight and a survival whistle enhance safety during early starts or unexpected delays.
Which specific equipment can improve stability and comfort?
Use sturdy trekking poles for balance and boots with aggressive soles. Lightweight carbon-fiber poles offer support on scree and steep ascents. A season-appropriate sleeping bag and efficient camp stove matter for multi-day plans where weather may force unplanned nights.
How should I plan time and pace for a T3 day hike?
Allow extra time for route-finding, technical sections, and weather delays. Estimate conservative speed—accounting for elevation gain and terrain type—and start early to avoid afternoon storms and low visibility.
What considerations apply to multi-day T3 itineraries?
Break routes into manageable segments, plan for recovery after hard days, and avoid stacking consecutive demanding legs without rest. Have bail options and resupply points, and monitor weather trends closely.
When is it wise to turn back from a T3 route?
Retreat when conditions exceed your exposure tolerance, navigation becomes uncertain, fatigue impairs safe movement, or essential gear fails. Turning back is a sound risk-management decision—not a failure.
Are ropes or ice axes typically needed for T3 routes?
Under dry, summer conditions ropes are usually unnecessary. If snow, ice, or firm firn cover route sections, carry and know how to use an ice axe and crampons; that transforms the objective into a different, more technical grade.